This content originally appeared on Envato Tuts+ Tutorials and was authored by Charles Yeager
What is a LUT?
So what is a LUT? You can think of LUTs like universal color presets. The colors on your footage are represented by different numbers, which are called color values. When a Look Up Table is applied to your footage, it shifts those color values around and changes the color information of your footage.
It’s similar to a color filter on a phone app, or a color preset in Premiere Pro. However, LUTs provide a much higher level of color accuracy and are universal in the sense that they can be used across a multitude of different programs, video editors, and even imported into cameras and external monitors.


Examples of using LUTs in video projects
Let’s look at a few examples of how you might use LUTs in your own projects.
First, let’s say you color corrected a video clip in Davinci Resolve, but the client requires the project to be edited in Premiere Pro. You could export your color correction from Davinci Resolve as a LUT and then easily import it and apply it to all of your edited clips in Premiere Pro!
Another example would be if you created a stylized color grade in After Effects, you could then export it as a LUT and import it into a camera or external monitor. This will enable you to preview your color grade on location. Which can be really helpful when you want to preview how colors of a scene will react to a color grade. This can also help you properly expose your footage when you are filming in ultra-flat profiles such as Log.


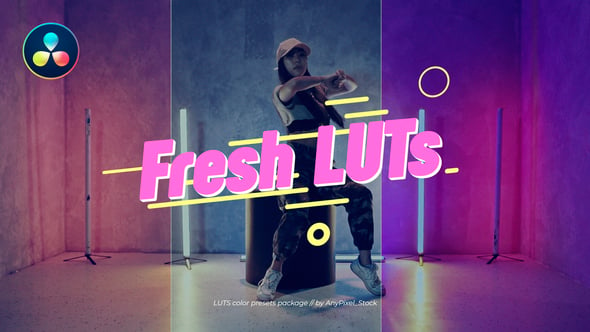
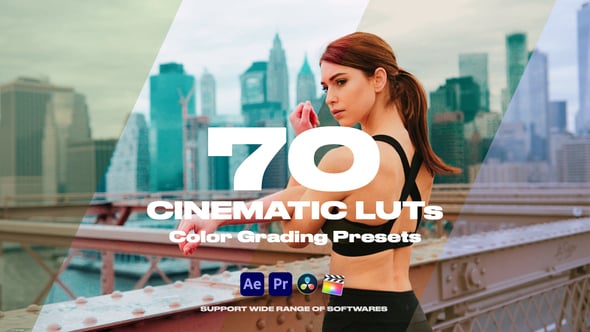
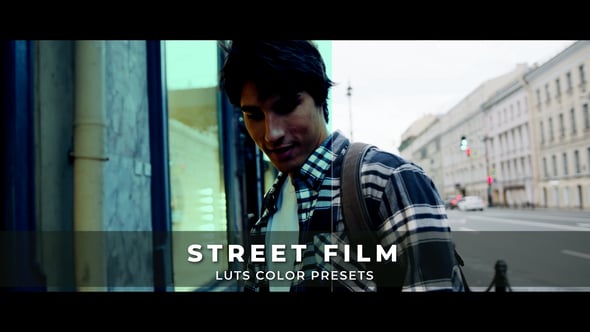
Finally, if color grading isn’t your specialty, you can use LUTs available on Envato Elements to quickly find the perfect look for your video project. Again, because LUTs are so universal, they’re able to be easily applied in most video editing apps!
Types of LUTs
LUTs can be used for a variety of different video needs. There are two different types of LUTs that you are most commonly going to see: Correction LUTs and Creative LUTs. Let’s take a look at the differences.
Correction LUTs
The purpose of correction LUTs is to accurately convert footage from one picture profile to another. A common example would be for converting footage shot in a flat picture profile, such as Log, to a more standard picture profile like Rec.709. This provides editors with a much easier starting point for their color grading.
Camera manufacturers will often have color correction LUTs available for download directly from their website. So just do a web search for your camera and Log picture profile “to Rec. 709”.


Creative LUTs
Creative LUTs are for more stylistic looks, and they can vary quite a bit. Everything from film emulation, to movie-specific color grades, to more abstract looks. Creative LUTs may not be as color accurate when you first apply them, but this is ok, because generally you use them as a starting point to help craft the final look. In most cases, you’ll apply creative LUTs to already color-corrected footage in a Rec. 709 picture profile.


Not all creative LUTs will always work well with your footage; keep in mind that LUTs may have been created for different specific shooting scenarios, such as daytime, nighttime, indoors, or outdoors. A LUT created for a moody, raining scene probably won’t work well with a vibrant, sunny beach shot. But it is really up to your own preference and the creative look you are going for. Experimenting with different looks is part of the fun!
How to apply LUTs to your footage
Let’s take a look at how you can apply LUTs to your video footage in Premiere Pro and Davinci Resolve.
LUTs for Premiere Pro
In Premiere Pro (and After Effects), you can apply LUTs to your footage using the Lumetri Color effect. In the Effects panel, just search for “Lumetri Color”, then drag and drop it onto your video clip in the timeline. In the Effects Controls panel, you will now see the Lumetri Color effect. From here you’ll have two options, depending on the LUT type you are wanting to apply. You can apply a correction LUT under the Basic Correction settings. Or you can apply a creative LUT under the Creative settings. Simply select the option you want and then select Browse in the dropdown menu to import your LUT.


LUTs for Davinci Resolve
In Davinci Resolve, navigate to the Color tab. You will then see the LUTs folder on the top-left panel. Right-click on the LUTs folder and select Open File Location. You will then need to add any LUTs you would like to use into this folder (you can drag in entire folders or create your own LUT sub-folders, if you would like as well.)


Once you’ve added in your LUTs, navigate back to Davinci Resolve and right-click on the LUTs folder again. This time select Refresh. This will refresh the list of LUTs available. Now to apply a LUT to your footage, right-click on your video clip or on a Node in the Node Graph. Then navigate to LUT and then select the LUT you would like to apply (if you created a custom sub-folder, you will see it in the list to select from.)


Tips to get better results with LUTs
As mentioned earlier, the results you get from a creative LUT will greatly depend on the original footage that you’re working with. However, if you apply a creative LUT and the results are not what you are looking for, the solution may be as simple as adjusting a few color correction settings.
First, experiment with adjusting the White Balance, Tint, and Exposure of your video clip. The key to this is to make the color correction adjustments before the creative LUT is applied! This will give you the best results.
In Premiere Pro, apply your creative LUT in the Creative settings of Lumetri Color. Then navigate back up to the Basic Correction settings in Lumetri Color and make your adjustments to the White Balance, Tint, and Exposure.


In Davinci Resolve, add a Corrector Node in the Node Graph before the Node that has your LUT applied to it. Select the Corrector Node and make your corrections in the Primaries panel, which will allow you to make adjustments to the White Balance, Tint, and Exposure of your video clip.


LUTs on Envato Elements
Looking for more LUTs to use on your footage? Check out the LUT collections available on Envato Elements! There you can find thousands of different LUTs for everything from Cinematic to Psychedelic, from Retro to Infrared. You are sure to find plenty of creative LUTs to inspire for your next project!
This content originally appeared on Envato Tuts+ Tutorials and was authored by Charles Yeager
Charles Yeager | Sciencx (2016-03-29T17:55:09+00:00) A quick introduction to LUTs: Color Look Up Tables for video. Retrieved from https://www.scien.cx/2016/03/29/a-quick-introduction-to-luts-color-look-up-tables-for-video/
Please log in to upload a file.
There are no updates yet.
Click the Upload button above to add an update.


