
This content originally appeared on Level Up Coding - Medium and was authored by Jazz Tong
Docker Swarm is a simple Docker Orchestration framework, it is the hottest tool to discuss and used before Kubernetes, and it still very popular now in small scale Applications. Today we going to demonstrate how we can use Vagrant to set up Docker Swarm in your local machine without provision cloud or physical environment.
Introduction to Vagrant
Vagrant is a tool for building and managing virtual machine environments in a single workflow. With an easy-to-use workflow and focus on automation, Vagrant lowers development environment setup time, increases production parity, and makes the “works on my machine” excuse a relic of the past. Learn Vagrant from Hashicorp. As Vagrant is natively using Ruby, hence you can build your environment dynamically with Vagrant.
Requirements
We will set up the following environments and applications:
2 Manager Nodes
2 Workers Nodes
Deploy Portainers in Docker Swarm
Deploy 8 replicas of NGINX in Docker Swarm
Install Vagrant
You can install Vagrant from brew or follow the official setup guide if you are not using macOS:
brew cask install vagrant
Install VirtualBox
Vagrant support quite a number of Virtualization provider, in our case we will use Virtual Box, run the following brew command to install Virtual Box:
brew cask install virtualbox
Create a working directory with Vagrant file
mkdir vagrant-docker-swarm
cd vagrant-docker-swarm
touch Vagrantfile
code . #We use visual studio code to edit the file, you can use any other editor
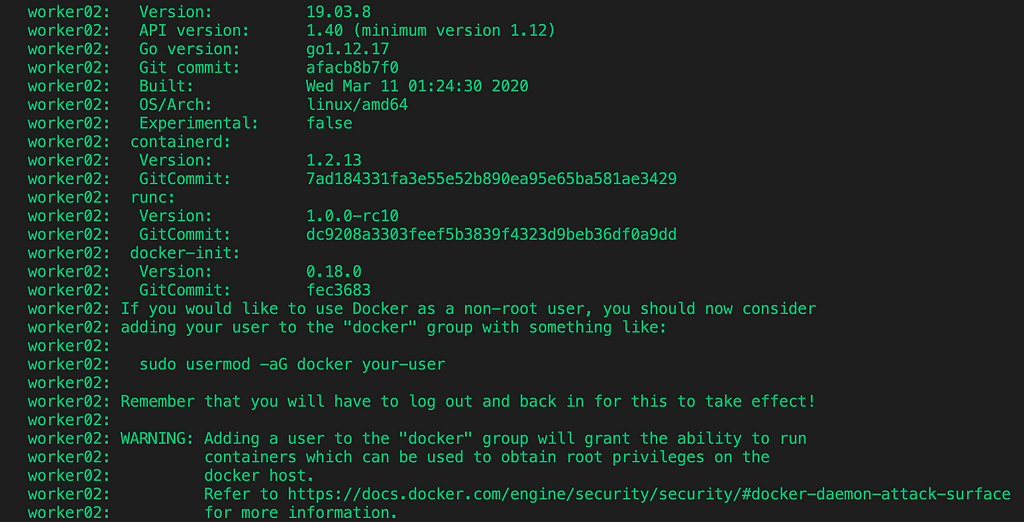
Add install Docker script
To simplify the Docker installation we create a common install script to be run by all the machine, and it will be used later, add the following script into Vagrantfile:
# -*- mode: ruby -*-
# vi: set ft=ruby :
$install_docker_script = <<SCRIPT
echo "Installing dependencies ..."
sudo apt-get update
echo Installing Docker...
curl -sSL https://get.docker.com/ | sh
sudo usermod -aG docker vagrant
SCRIPT
Add Variables to be used in Vagrantfile
Just like other programming languages, we will use variables to keep a common entity or constants in the Vagrantfile, add the following script in Vagrantfile:
BOX_NAME = "ubuntu/xenial64"
MEMORY = "512"
CPUS = 2
MANAGERS = 2
MANAGER_IP = "172.20.20.1"
WORKERS = 2
WORKER_IP = "172.20.20.10"
VAGRANTFILE_API_VERSION = "2"
We use the image ubuntu/xenial64 for our machine, we will use 512 MB memory and 2 CPU each in all our machine, we will launch 2 manager nodes , managers IP will be assigned the IP address starting from 172.20.20.1X , we will launch 2 woker nodes with IP start with 172.20.20.10X , lastly, we use version 2 for Vagrant file API version.
Configure Vagrant Configuration block and common parameters
Add the following script to Vagrantfile, if you notice, it uses the variables we defined earlier to configure all the machines
Configure Manager machines
Now, we will add the setup for the managers node, we loop through the MANAGERS count, provision the machine with the IP we assign, and hostname, as to simplify the setup, we will assign 3 ports to be accessible from the host machine, add the following script after end section from the common setup in the previous script, but must place within the Vagrant configure section.
Configure Worker machines
Lastly, we add a similar script as below after the previous script into Vagrantfile, it just basically start 2 machines with assign IP and hostname, here the example of a complete Vagrant file.
Start all machines with Vagrant
Run the following command within the folder to start all machines
vagrant up
It might take a while as it downloads the dependencies after provision completed run the following command to list all machines.
vagrant status

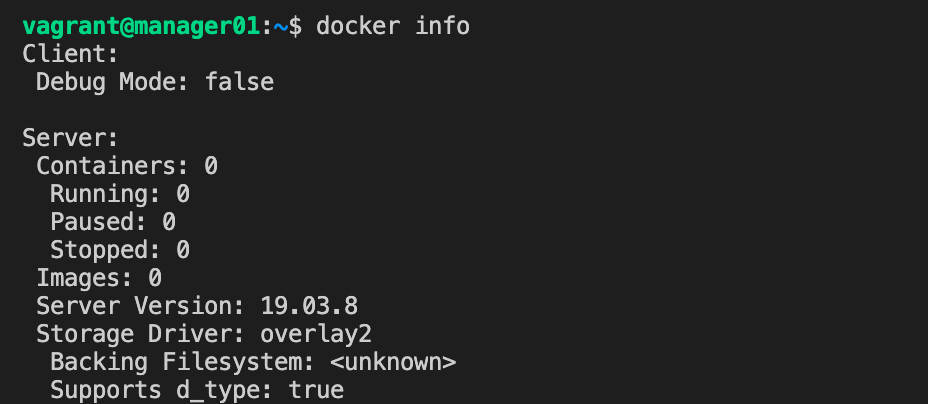
Login into manager01 with the following command and verify Docker
vagrant ssh manager01
docker info
Init Docker Swarm in manager01
Run the following command in manager01 to initialize Docker Swarm
docker swarm init --listen-addr 172.20.20.11:2377 --advertise-addr 172.20.20.11:2377
You will get the following output, the command and token will be used to join the worker, record it somewhere to be used later.

Run the following command to get the token to join manager
docker swarm join-token manager
You will get the following output, record the command and together with the token

Add Manager02 into manager node
Open another terminal and login into manager02 machine, and run the command you copy from manager01 to join as a manager node
docker swarm join --token SWMTKN-1-4yi710ldjxghquve97fgfh6551vsi7xvlzihbs6ag8tgil9w1a-eqx1i4qfnye7ucjwbvbn6glrw 172.20.20.11:2377
You will be getting the following output and indicate that you join manager successful

Add Worker01, Worker02 into worker node
Now we will add worker node into Docker Swarm, use the worker token command from manager01 and run the command in worker01 machine.
docker swarm join --token SWMTKN-1-4yi710ldjxghquve97fgfh6551vsi7xvlzihbs6ag8tgil9w1a-6vo52j42hx7r6c06yb0gif7me 172.20.20.11:2377

Repeat the same process in worker02 to join as worker node, lastly run the following command in manager node to list all nodes
docker node ls

Congratulations, you have a fully functioning Docker Swarm cluster.
Deploy Portainer
Portainer is the simple and lightweight Docker management tool, we will deploy Portainer to visualize all our application status in our cluster. In Docker Swarm, all the provisioning must be executed in the manager node. Login into manager01 or manager02 and run the following command.
curl -L https://downloads.portainer.io/portainer-agent-stack.yml -o portainer-agent-stack.yml
docker stack deploy --compose-file=portainer-agent-stack.yml portainer
As we are deploying our containers into the distributed node, we cannot use the normal docker ps to check all container, you can use another simple command to list all containers from all nodes docker node ps $(docker node ls -q) .

Deploy NGINX
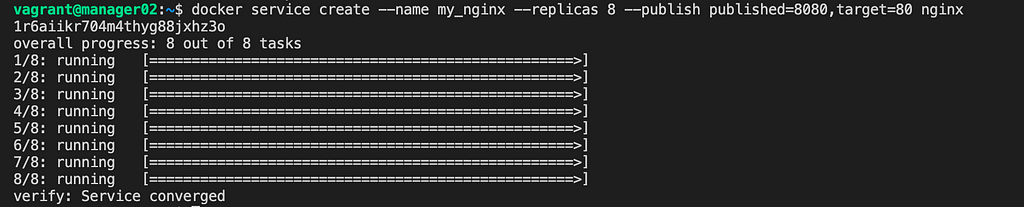
To further visualize how Docker Swarm work, we will deploy NGINX distributed into all nodes including manager node (Unless we configure placement constraint), run the following command to create Nginx service.
docker service create --name my_nginx --replicas 8 --publish published=8080,target=80 nginx
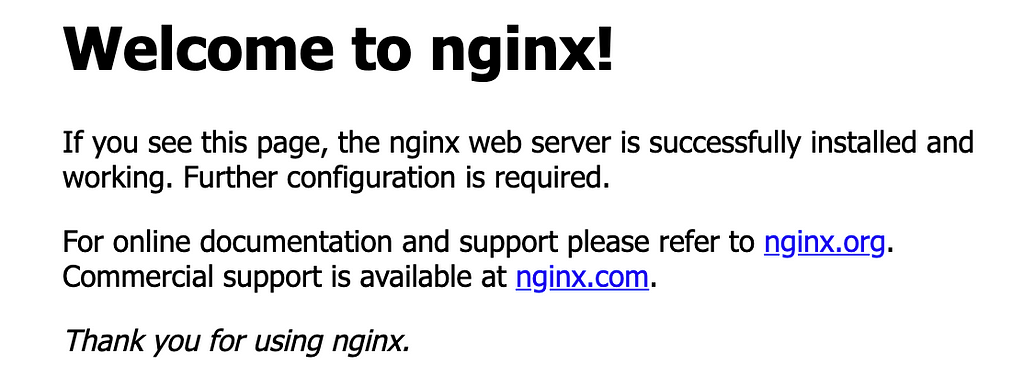
Testing Time
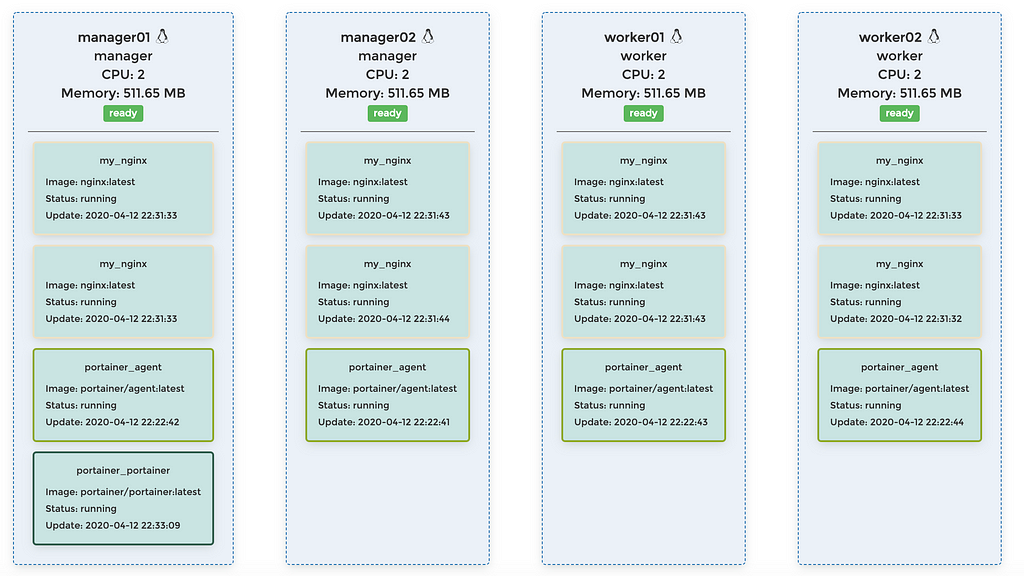
Navigate to http://localhost:8080/ to verify Nginx, and navigate to http://localhost:9000/ to open Portainer, lastly. navigate to http://localhost:9000/#/swarm/visualizer to visualize all your applications.
Take Away
By the end of this section, you should able to set up a machine locally to configure Docker Swarm playground, and you can automate the entire Docker Swarm setup with Vagrant ruby script if you want to. Lastly run Vagrant desktroy to clean up your virtual environment or Vagrant suspend to stop them, happy dockering.
Learn Docker Swarm with Vagrant was originally published in Level Up Coding on Medium, where people are continuing the conversation by highlighting and responding to this story.
This content originally appeared on Level Up Coding - Medium and was authored by Jazz Tong
Jazz Tong | Sciencx (2021-05-16T19:39:12+00:00) Learn Docker Swarm with Vagrant. Retrieved from https://www.scien.cx/2021/05/16/learn-docker-swarm-with-vagrant/
Please log in to upload a file.
There are no updates yet.
Click the Upload button above to add an update.