This content originally appeared on Zach Leatherman and was authored by Zach Leatherman
This week I ran into an interesting class of problem that—in hindsight—could use a much better workflow. Does it exist?

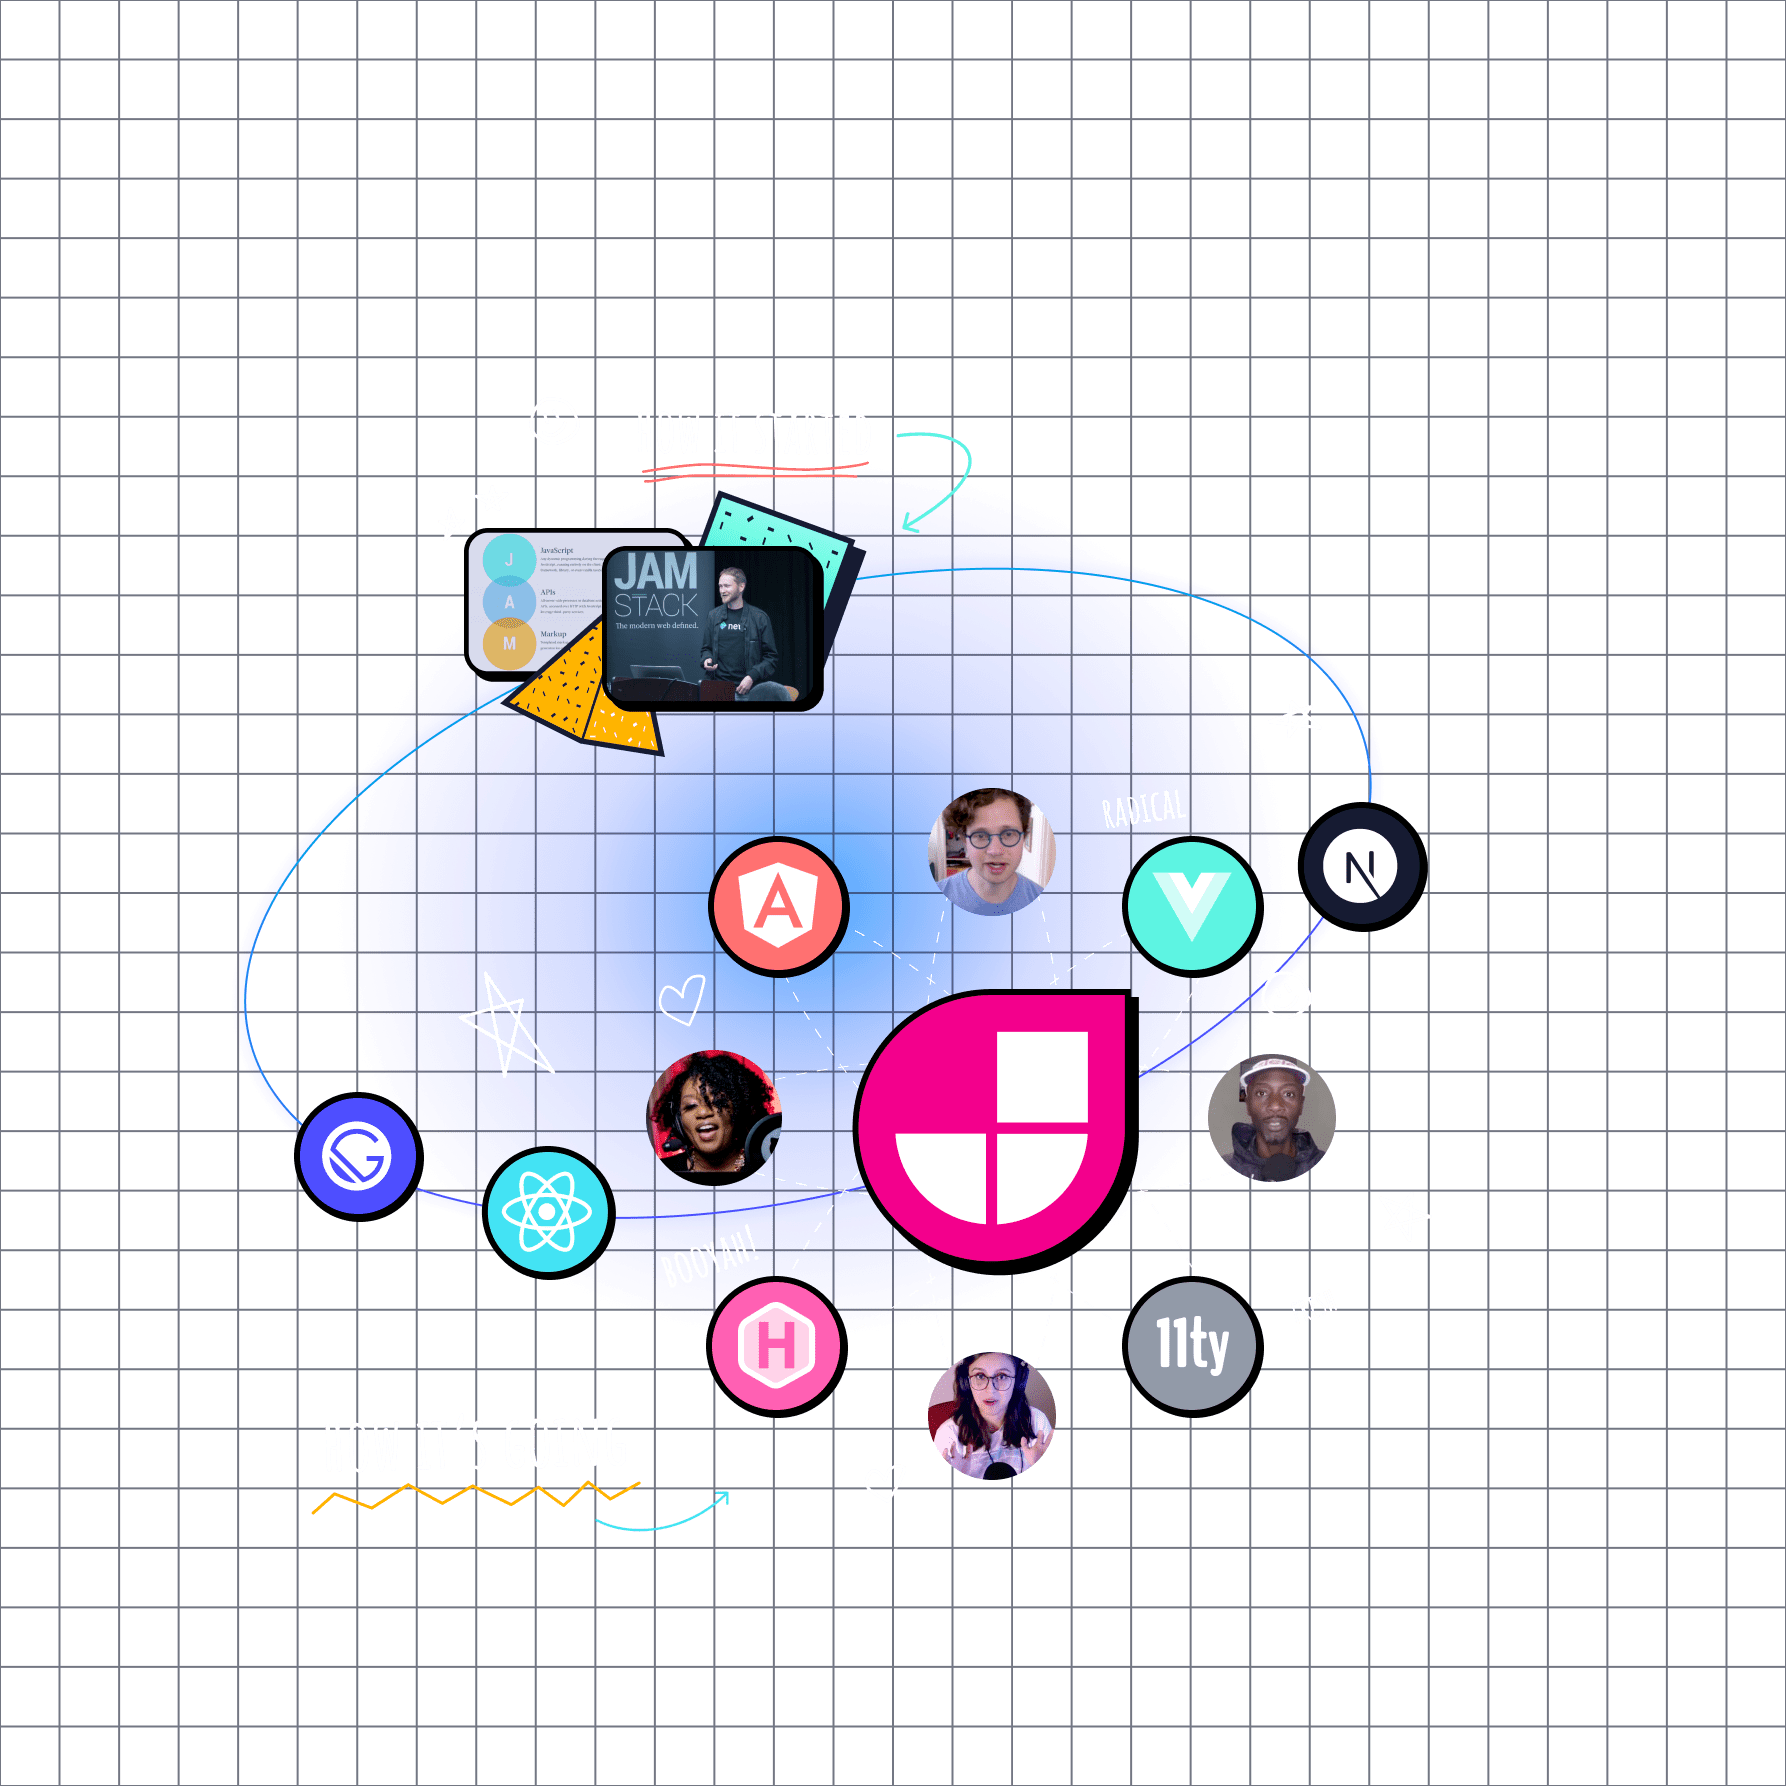
It has to do with the hero image on the right side of the home page on jamstackconf.com. We work using Figma on the marketing team at Netlify and my first attempt at exporting this image was fraught with peril.
Attempt 1: SVG
10.1 MBOriginal Export from Figma as SVG9.9 MBSVG optimized with SVGOMG
Now I know that these sizes are the uncompressed file sizes (before GZIP/Brotli) but I think we can both agree that even an optimized 9.9 MB is a bridge too far for even the starchiest of compression algorithms (Update: 9.9 MB gzipped to 7.36 MB). There are just too many embedded raster images inside of this SVG to yield good results from SVGOMG alone. Let’s swap to raster and see how far we can go.
Attempt 2: PNG
1.2 MB Original Export from Figma as PNG

So y’all know me well enough that I won’t be putting a 1.2 MB hero image in that prime area of viewport real estate. Let’s try some basic optimizations. The important thing to note here is that we need to preserve the image’s transparency. If the background color changes, I don’t want to have to reoptimize this image. That rules out a conversion to JPEG.
ImageOptim
831 KB PNG optimized with ImageOptim

I was impressed with the ~400 KB savings here from a single drag-and-drop onto ImageOptim but 831 is still too high.
Squoosh
376 KB PNG optimized with Squoosh (Reduced Palette to 256 colors)

Now we’re cooking with gas. That Reduced Palette option offered a huge savings! I did play around with the AVIF format settings on Squoosh a bit but wasn’t able to beat the PNG file size.
Attempt 3: WebP
152 KB WebP optimized with Squoosh (Lossless, Reduced Palette to 256 colors)

Wow, this is a really nice file size savings! And we’ll use <picture> here to progressively enhance our PNG to WebP. Many might consider this to be “good enough” but the entire point of this blog post is my next trick (*waves jazz hands*).
The Winner: Two Separate Layers: SVG + WebP
If we separate the stuff that vectors are good at (gradients, lines, etc.) and put that into an SVG and put the rest into the raster format, we can achieve even more savings! Now I did take a bit of the easy way out here—I didn’t put as much into the vector layer as I could have. And you may want to preserve more of the image in the foreground for things like “printing” (as if anyone still did that).


Using the raster layer as the foreground image and the supplementary vector image as a CSS background-image, we can combine the two! You may even be able to dump the optimized raster back into the SVG as a Data URI embedded in an <image> if you want to get real fancy—I didn’t go down that road.
74 KB + 4.2 KB Optimized SVG plus WebP (with a PNG fallback)

Final Results
From 10.06 MB to 78 KB—a savings of 9.9 MB. Not too bad.
| Method | Size | Savings |
|---|---|---|
| Original SVG | 10.06 MB | |
| SVG optimized with SVGOMG | 9.92 MB | -0.14 MB |
| PNG | 1.16 MB | -8.76 MB |
| PNG optimized with ImageOptim | 831 KB | -329 KB |
| PNG optimized with Squoosh | 376 KB | -455 KB |
| WebP optimized with Squoosh | 152 KB | -224 KB |
| Two Layers: SVG (SVGOMG), WebP (Squoosh) | 78 KB | -74KB |
Savings are in comparison to the previous attempt.
Disclaimer: If you check the above sizes to the currently implemented version on jamstackconf.com the raster image layer may be larger than expected! I still need to merge a PR to ship some final optimizations!
This content originally appeared on Zach Leatherman and was authored by Zach Leatherman
Zach Leatherman | Sciencx (2021-08-25T05:00:00+00:00) Vector? Raster? Why Not Both!. Retrieved from https://www.scien.cx/2021/08/25/vector-raster-why-not-both/
Please log in to upload a file.
There are no updates yet.
Click the Upload button above to add an update.
