
This content originally appeared on DEV Community and was authored by Adli Rafif
A. Introduction
The last chapter, we will create a simple Pie Chart using FL Chart Package.
B. Step To Create Pie Chart
If you already read my previous tutorial about line chart and bar chart, you can skip step 1 - 4.

1). Create a Flutter project on your text editor like VS Code or Android Studio. For the detail of creating a new flutter project, you can visit this link : How To Create new Flutter Project
2). Install FL Chart using the below command :
flutter pub add fl_chart
3). In lib folder, create new file named chart_container.dart and insert the below code.
import 'package:flutter/cupertino.dart';
import 'package:flutter/material.dart';

class ChartContainer extends StatelessWidget {
  final Color color;
  final String title;
  final Widget chart;

  const ChartContainer({
    Key? key,
    required this.title,
    required this.color,
    required this.chart,
  }) : super(key: key);

  @override
  Widget build(BuildContext context) {
    return Center(
      child: Container(
        width: MediaQuery.of(context).size.width * 0.95,
        height: MediaQuery.of(context).size.width * 0.95 * 0.65,
        padding: EdgeInsets.fromLTRB(0, 10, 20, 10),
        decoration: BoxDecoration(
          color: color,
          borderRadius: BorderRadius.circular(20),
        ),
        child: Column(
          mainAxisAlignment: MainAxisAlignment.center,
          children: <Widget>[
            Text(
              title,
              style: TextStyle(
                  color: Colors.white,
                  fontSize: 16,
                  fontWeight: FontWeight.bold),
            ),
            Expanded(
                child: Container(
              padding: EdgeInsets.only(top: 10),
              child: chart,
            ))
          ],
        ),
      ),
    );
  }
}
Explanation :
-
ChartContainerclass was created to store a chart and avoid writing the same code repeatedly.
class ChartContainer extends StatelessWidget
4). Make 2 new folder named chart and chart_data inside lib folder.
5). Open main.dart in lib folder, then write the below code.
import 'package:fl_chart_tutorial/chart/pie_chart.dart';
import 'package:fl_chart_tutorial/chart_container.dart';
import 'package:flutter/material.dart';

void main() {
  runApp(MyApp());
}

class MyApp extends StatelessWidget {
  @override
  Widget build(BuildContext context) {
    return MaterialApp(
      title: 'FL Chart Tutorial',
      theme: ThemeData(
        primarySwatch: Colors.purple,
      ),
      home: MyHomePage(title: 'FL Chart Tutorial'),
    );
  }
}

class MyHomePage extends StatefulWidget {
  MyHomePage({Key? key, required this.title}) : super(key: key);

  final String title;

  @override
  _MyHomePageState createState() => _MyHomePageState();
}

class _MyHomePageState extends State<MyHomePage> {
  @override
  Widget build(BuildContext context) {
    return Scaffold(
        appBar: AppBar(
          title: Text(widget.title),
        ),
        body: Container(
          color: Color(0xfff0f0f0),
          child: ListView(
            padding: EdgeInsets.fromLTRB(0, 30, 0, 30),
            children: <Widget>[
              ChartContainer(
                title: 'Pie Chart',
                color: Color(0xff24b273),
                chart: PieChartContent()
              ),
            ],
          ),
        ));
  }
}
6). To draw a Pie Chart, We need to create a file called pie_chart.dart then make a StatelessWidget Class named PieChartContent.
pie_chart.dart
import 'package:fl_chart/fl_chart.dart';
import 'package:flutter/material.dart';
import 'package:flutter/widgets.dart';

class PirChartContent extends StatelessWidget {
  @override
  Widget build(BuildContext context) {
    return PieChart(
      PieChartData(),
    );
  }
}
7). Next, we make a new file again called pie_chart_data.dart. In the file we have been created, write a pieChartSectionData list which contain sections data of Pie Chart.
pie_chart_data.dart
import 'dart:ui';
import 'package:fl_chart/fl_chart.dart';
import 'package:flutter/material.dart';

List<PieChartSectionData> pieChartSectionData = [
  PieChartSectionData(
      value: 20,
      title: '20%',
      color: Color(0xffed733f),
    ),
    PieChartSectionData(
      value: 35,
      title: '35%',
      color: Color(0xff584f84),
    ),
    PieChartSectionData(
      value: 15,
      title: '15%',
      color: Color(0xffd86f9b),
    ),
    PieChartSectionData(
      value: 30,
      title: '30%',
      color: Color(0xffa2663e),
    ),
];
Explanation :
-
PieChartSectionDatais a widget to draw a pie chart section in FL Chart Package. - The usage of
valueproperty is to determine a weight of a section.
8). After creating a list of sections data, we can include that list to PieChartData widget in pie_chart.dart.
Don't forget to add import code on top of the line.
import 'package:fl_chart_tutorial/chart_data/pie_chart_data.dart';
Include pieChartSectionata list.
sections: pieChartSectionData
The code will look like this.
pie_chart.dart
import 'package:fl_chart/fl_chart.dart';
import 'package:fl_chart_tutorial/chart_data/pie_chart_data.dart';
import 'package:flutter/material.dart';
import 'package:flutter/widgets.dart';

class PieChartContent extends StatelessWidget {
  @override
  Widget build(BuildContext context) {
    return PieChart(PieChartData(
      sections: pieChartSectionData
    ));
  }
}
Output :

9). Next, we need to remove a center space of pie chart and space between each section.
Remove center space of pie chart with set value of centerSpaceRadius to 0.
centerSpaceRadius: 0
Also remove space between section with set value of sectionsSpace to 0.
sectionsSpace: 0
The Code :
import 'package:fl_chart/fl_chart.dart';
import 'package:fl_chart_tutorial/chart_data/pie_chart_data.dart';
import 'package:flutter/material.dart';
import 'package:flutter/widgets.dart';

class PieChartContent extends StatelessWidget {
  @override
  Widget build(BuildContext context) {
    return PieChart(PieChartData(
      centerSpaceRadius: 0,
      sectionsSpace: 0,
      sections: pieChartSectionData
    ));
  }
}
Output :

10). As you can see in the last output picture, the pie chart size looks small. To extend its size, we must set the radius of each section in pieChartSectionData based on the device screen width.
To do that way, we need to change the code of pie_chart_data.dart file by create a function with a return list<PieChartSectionData> type.
pie_chart_data.dart
import 'dart:ui';
import 'package:fl_chart/fl_chart.dart';
import 'package:flutter/material.dart';

List<PieChartSectionData> getSectionData(double screenWidth) {
  double radius = screenWidth / 4.44;

  return [
    PieChartSectionData(
      value: 20,
      title: '20%',
      radius: radius,
      color: Color(0xffed733f),
    ),
    PieChartSectionData(
      value: 35,
      title: '35%',
      radius: radius,
      color: Color(0xff584f84),
    ),
    PieChartSectionData(
      value: 15,
      title: '15%',
      radius: radius,
      color: Color(0xffd86f9b),
    ),
    PieChartSectionData(
      value: 30,
      title: '30%',
      radius: radius,
      color: Color(0xffa2663e),
    ),
  ];
}
Explanation :
-
getSectionDatafunction have parameter withdoublevariable calledscreenWidth. this parameter is used to determine radius value of each pie chart section.
11). Last, open pie_chart.dart file and change sections property value by include the getSectionData function.
MediaQuery.of(context).size.widthsyntax is used to retrieve the device screen width.
sections: getSectionData(MediaQuery.of(context).size.width)
The final code of pie_chart.dart
import 'package:fl_chart/fl_chart.dart';
import 'package:fl_chart_tutorial/chart_data/pie_chart_data.dart';
import 'package:flutter/material.dart';
import 'package:flutter/widgets.dart';

class PieChartContent extends StatelessWidget {
  @override
  Widget build(BuildContext context) {
    return PieChart(PieChartData(
      sectionsSpace: 0,
      centerSpaceRadius: 0,
      sections: getSectionData(MediaQuery.of(context).size.width)
    ));
  }
}
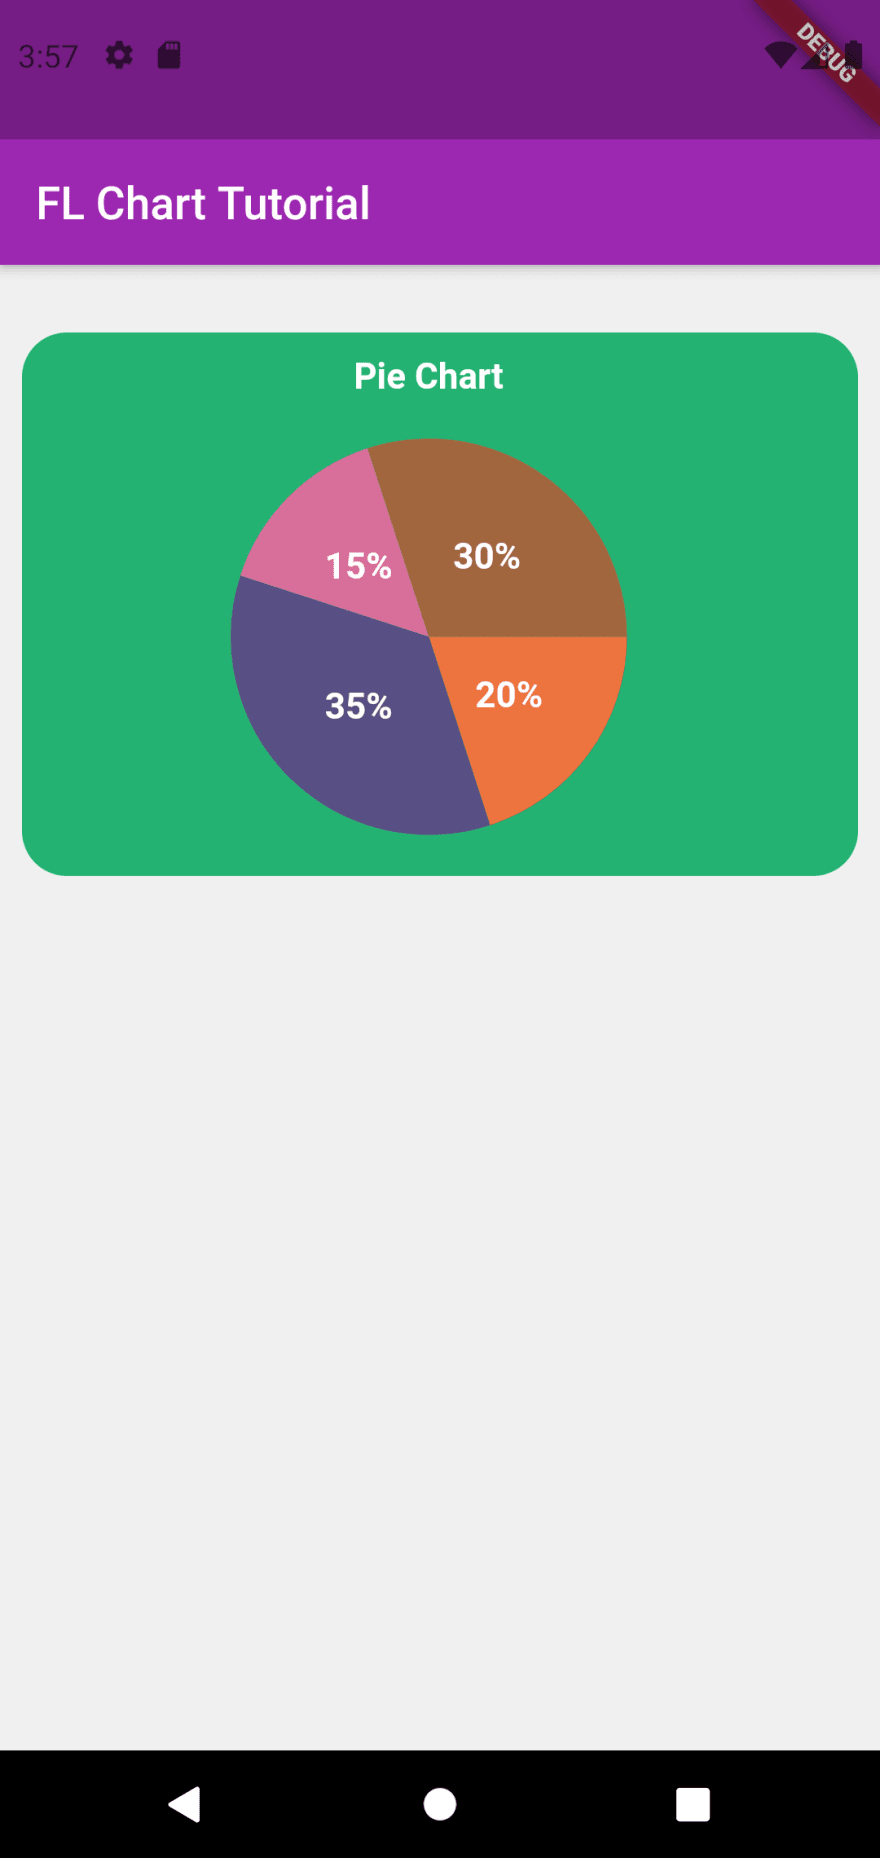
Final output :

C. Conclusion
This is the last tutorial of Flutter Chart Series. I hope this tutorial will help you to create pie chart in flutter.
For more detail about this tutorial you can check my Github repo at this link: Source Code of Fl Chart Tutorial
Also, if you want to learn more about FL Chart Packages you can visit the documentation link : Fl Chart Documentation
This content originally appeared on DEV Community and was authored by Adli Rafif
Adli Rafif | Sciencx (2021-09-02T19:15:25+00:00) Flutter – Create Simple Pie Chart. Retrieved from https://www.scien.cx/2021/09/02/flutter-create-simple-pie-chart/
Please log in to upload a file.
There are no updates yet.
Click the Upload button above to add an update.