
This content originally appeared on Level Up Coding - Medium and was authored by Nidhin kumar
If you don’t have time to read but want to know what’s there in this post. Find the quick read 👇
Overview
In, this blog we will see how to install the Flux Extension in VS Code and make connections to InfluxDB and write queries.
Prerequisite
If you are new to InfluxDB check out the below blogs before reading this one 👇
- InfluxDB with some data
- VS Code Text Editor
Objectives
- Installing Flux Extension
- Connecting InfluxDB with VS Code
- Writing Flux Query in VS Code
1. Installing Flux Extension
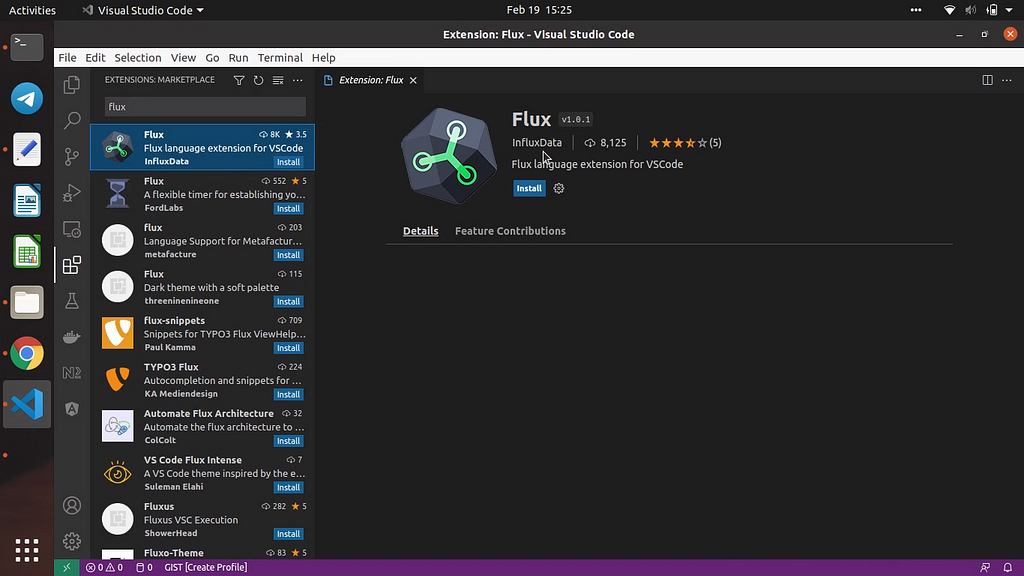
Open VS Code Editor and then click Extensions and then type Flux like below
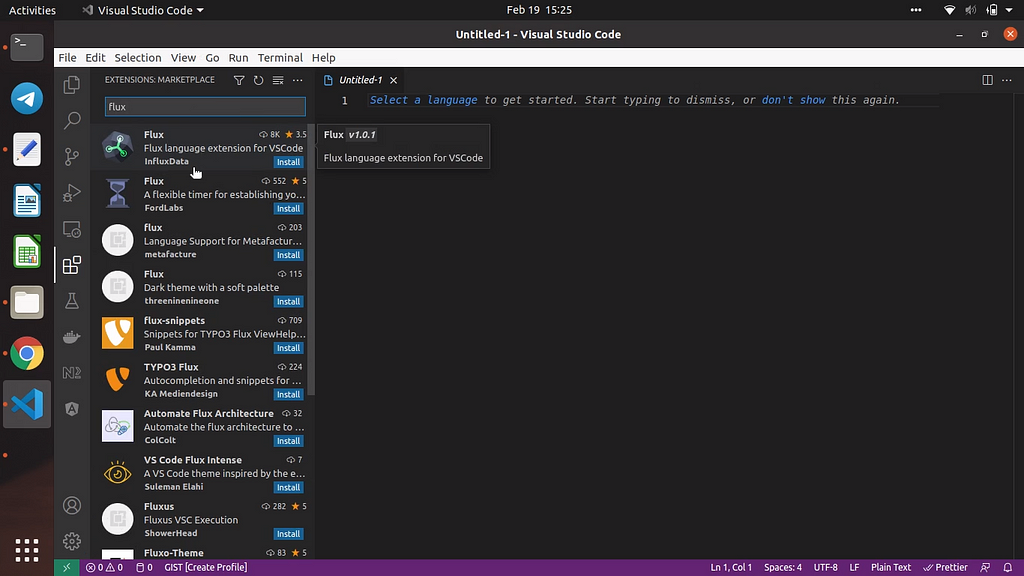
Click Install to install the Flux extension
Once the extension is installed successfully you could see the InfluxDB on the sidebar like the below image
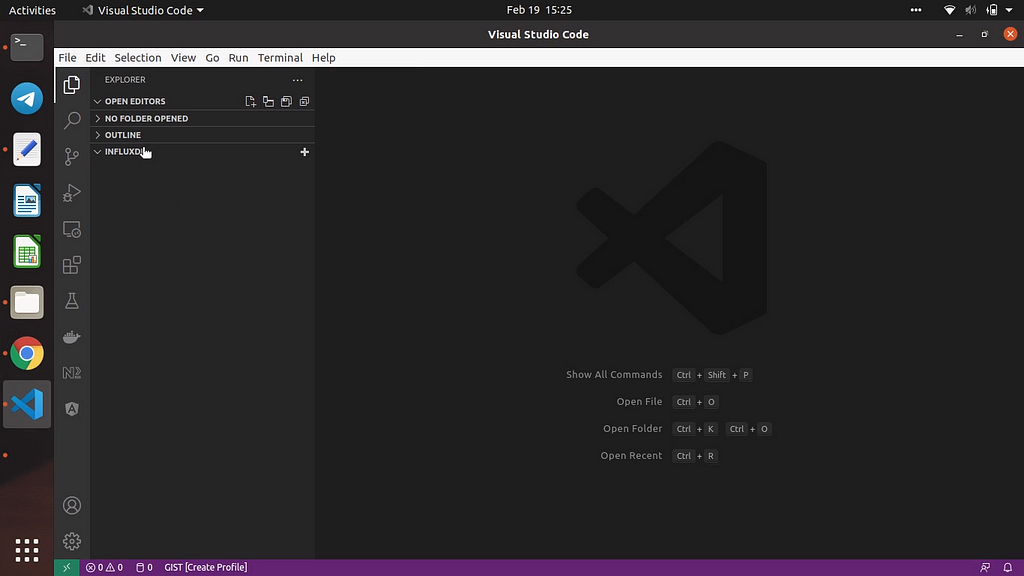
Click the ‘+’ button to add a new connection.
2. Connecting InfluxDB with VS Code
Now, we will connect the InfluxDB in VS Code. Click the ‘+’ button or by using the command palette (Ctrl + Shift + p) and then click the Add new connection.
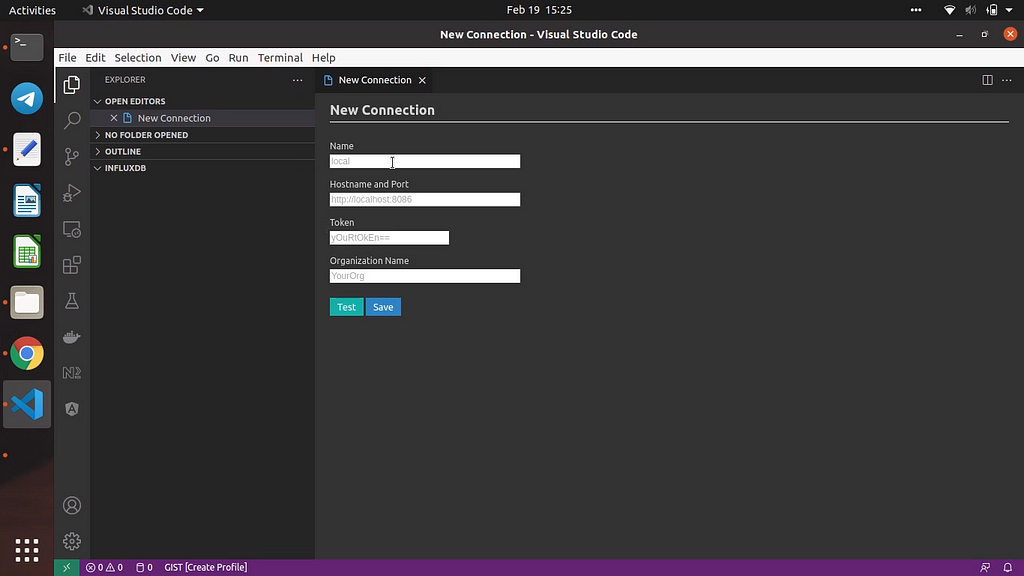
Now select the connection and then add the InfluxDB token and then click the Test connection to check the connection.
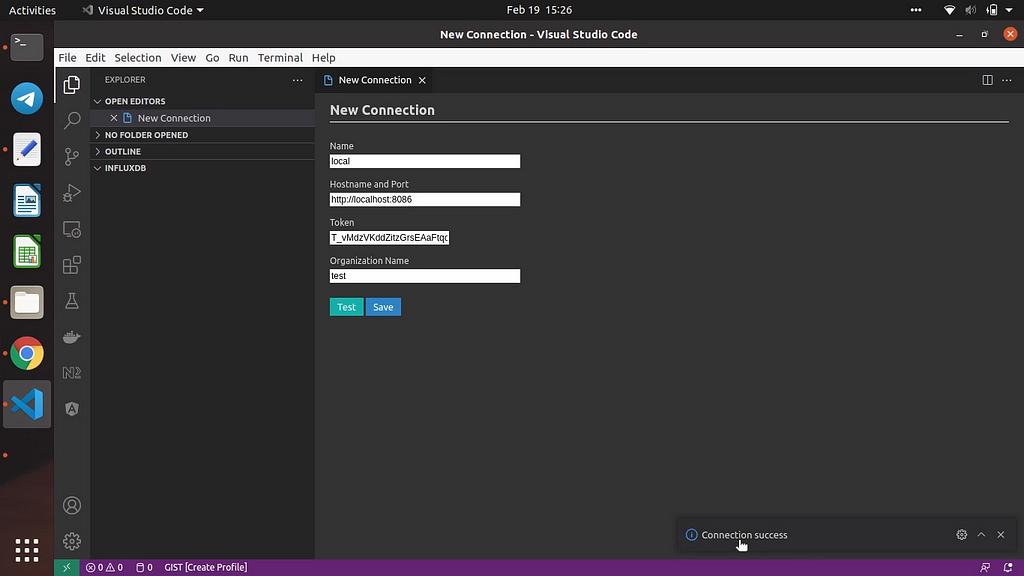
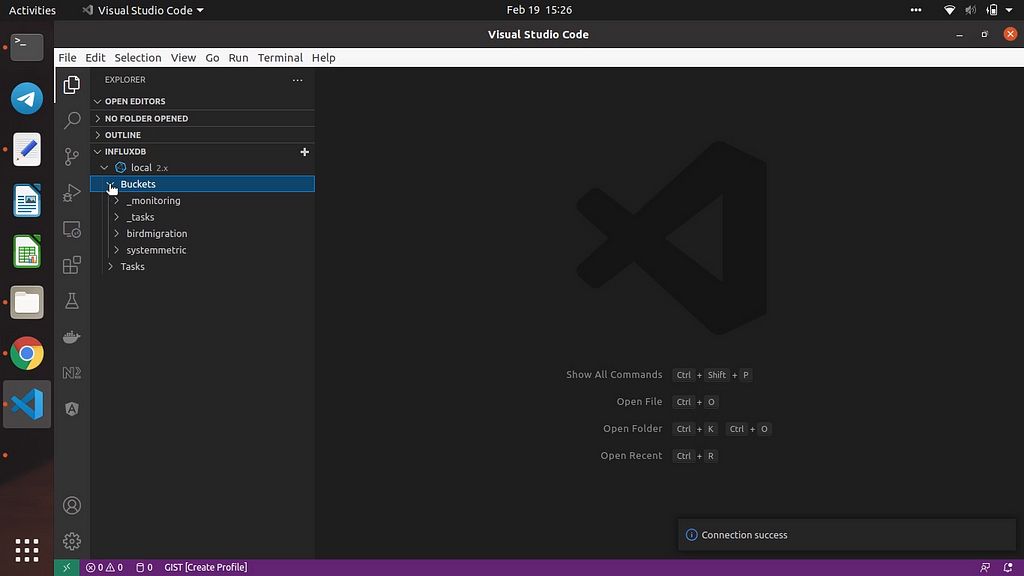
Once the connection is successful you could see the buckets and measurements that are available in the given organization like below
3. Writing Flux Query in VS Code
Now, will write the Flux query to check whether we can get the data from InfluxDB.
Create a new file in VS Code Editor with extension as .flux and write your flux query.
from(bucket: "systemmetric")
  |> range(start: -1h, stop: now())
  |> filter(fn: (r) => r["_measurement"] == "cpu")
  |> filter(fn: (r) => r["cpu"] == "cpu-total")
  |> filter(fn: (r) => r["_field"] == "usage_user")
  |> aggregateWindow(every: 1h, fn: mean, createEmpty: false)
  |> yield(name: "mean")
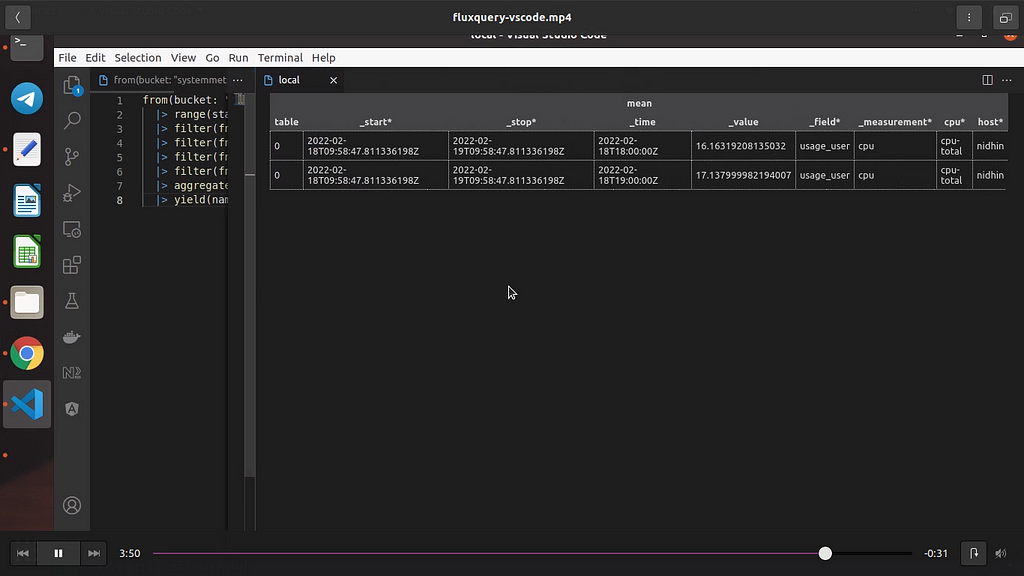
Now run the flux query using the command Ctrl + Alt + E. Now you could see the result like below.
Video Link
Congratulations!
You have learned how to use the Flux Extension in VS Code. Will Catch you up in a new post till then Happy Learning:)
Flux VS Code Extension was originally published in Level Up Coding on Medium, where people are continuing the conversation by highlighting and responding to this story.
This content originally appeared on Level Up Coding - Medium and was authored by Nidhin kumar
Nidhin kumar | Sciencx (2022-02-21T02:19:17+00:00) Flux VS Code Extension. Retrieved from https://www.scien.cx/2022/02/21/flux-vs-code-extension/
Please log in to upload a file.
There are no updates yet.
Click the Upload button above to add an update.