
This content originally appeared on Bits and Pieces - Medium and was authored by Paymon
Build a blog on a NuxtJS Jamstack. We will use Vue.js, TailwindCSS, NuxtJS, FaunaDB, GraphQL, and Netlify
In this tutorial we are going to this simple blog site on a NuxtJS Jamstack. The frameworks we will use are VueJS, TailwindCSS, NuxtJS, FaunaDB, GraphQL, and Netlify. You can find the full source code here.
Prerequisites
What is the JAMstack?
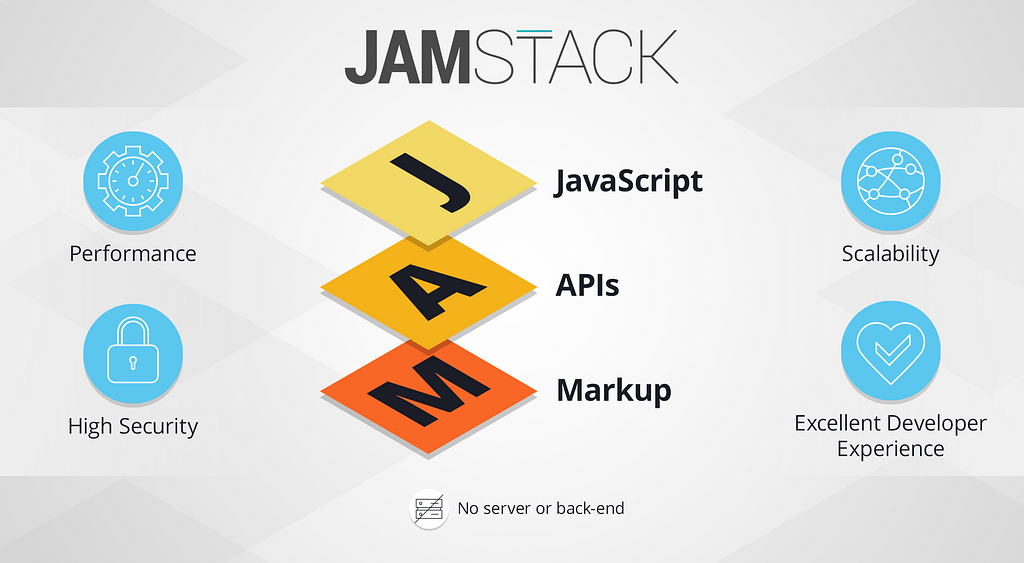
There are a lot of overlapping definitions, buzzwords and terminology surrounding the JAMstack, serverless technology, and server-side rendering. Ultimately, the goal is to build a fully-equipped enterprise application using the following paradigms.
- JavaScript — application logic is written primarily in JavaScript, meaning less of a learning curve for web developers and easier onboarding across multiple projects.
- APIs — server configuration, management, scaling, and deployment is difficult and painstaking (i.e. setting up and maintaining a mySQL database). These tasks are delegated entirely to third-party services, so you only need to worry about making simple API calls. On large scales, it might be more cost efficient to manage your own servers, but the tradeoff is you can save hundreds of hours on initial setup, maintenance, and overhead.
- Markup — the end user receives the application entirely through a CDN. A CDN is an optimized network of servers strategically placed across the globe to serve files based on proximity. They were initially introduced to optimize serving large files such as videos, but developers started delegating static assets through them to improve speed and SEO (Isomorphic Server-Side Rendering). While traditional web architecture has remained relatively stagnant, the technology behind CDNs has been rapidly evolving. Websites served on a CDN rank higher in SEO and have a noticeably increased rendering speed.
Pros
- Reduce complexity, reduce risk. There are significantly less security vulnerabilities because the vectors for attack are managed by a third-party organization.
- Faster UX from hundreds of milliseconds reduced on rendering
- Improved SEO rankings
- Intelligent and automatic scaling
- Significantly reduced developer overhead
- Save hundreds of hours on initial setup, upgrade, and maintenance
Cons
- Learning curve
- Less customization and control
- More expensive, especially on large scales
- Less terminal/coding, more buttons
Example Request Lifecycle
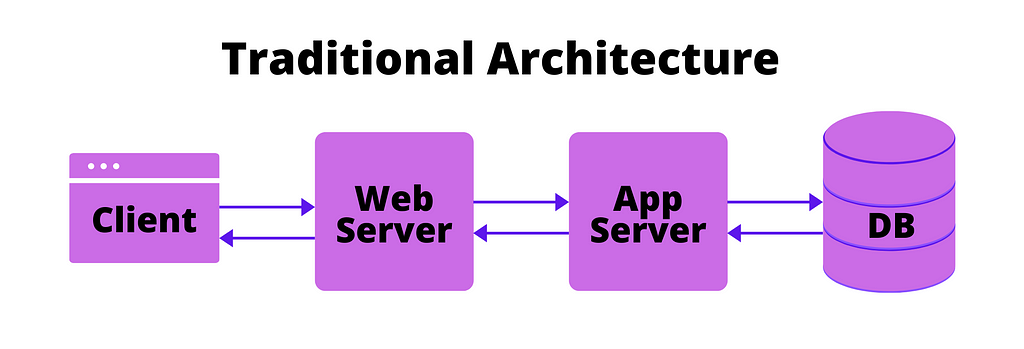
- User visits website and sends request
- Request hits load balancer that redirects request to one of many provisioned servers
- Server will make a call to one of many provisioned database servers to populate the template with data, creating the view
- The view, the final product, is delivered to the browser through the load balancer
- The request may also stash assets in a CDN, designated through isomorphic server-side rendering
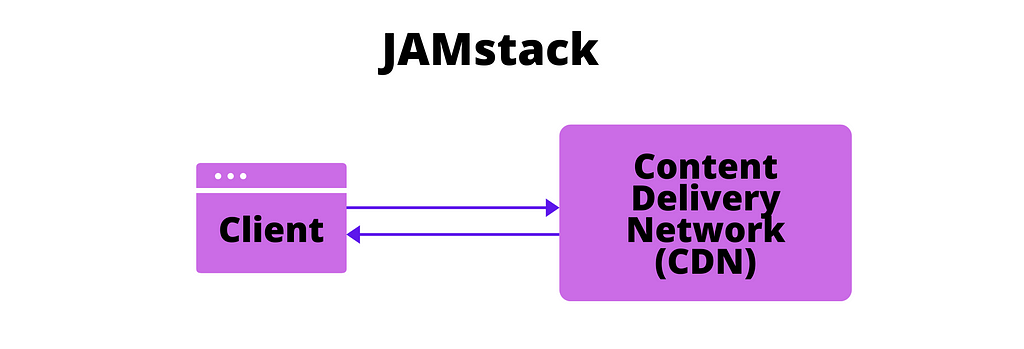
- User visits website and sends request
- Request hits CDN and the view is returned
Overview
- Create a Fauna database with GraphQL and generate seed data
- Build a static site with NuxtJS and FQL driver
- Deploy on Netlify with Netlify CLI
Create a Fauna database with GraphQL and generate seed data
Setting up and maintaining databases is often a hassle. Fauna DBaaS handles the complexity so you only need to make simple API calls for data.
mkdir seed
cd seed
git init
echo “node_modules” > .gitignore
echo “.env” >> .gitignore
npm init -y
npm install dotenv faunadb
FYI: faunadb is a JavaScript driver for FaunaDB, that abstracts FQL. dotenv is for storing and loading our Fauna secret key from .env.
GraphQL Schema
mkdir graphql
cd graphql
touch schema.gql
Create a Fauna account if you haven’t already, navigate to the dashboard, and create a new database. If you select a region other than classic, see here for additional params when initializing the client.
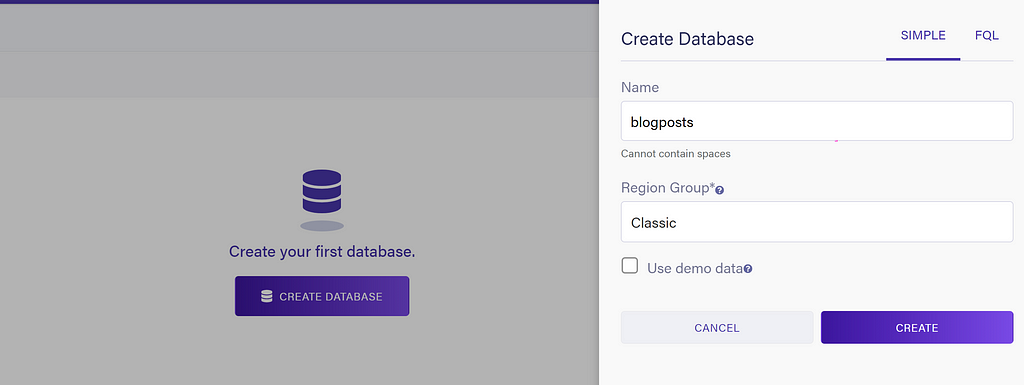
Go to Databases — > blogposts — > GraphQL — > import schema — > schema.gql
Fauna will now automatically create the collection and indexes to interact with the data. In addition to drivers, Fauna also allows you to interact with data using interactive FQL shell, GraphQL clients, and GraphQL playground.
Secret Key
Databases — > blogposts — > Security — > New Key
- Role = Admin
- Name = FAUNA_ADMIN_KEY
Copy the key and create .env:
touch .env
Save .env in the root directory:
cd graphql
touch db-connection.js
Save db-connection.js in the graphql directory:
cd ..
touch data.json
Copy and paste compact JSON data:
Save data.json in root directory:
touch seed.js
Save seed.js in the root directory and run it with:
node seed.js
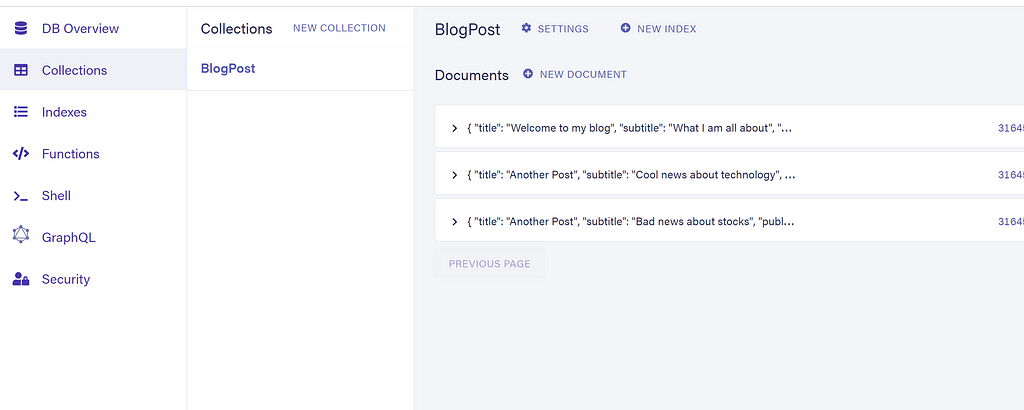
Verify the entries have been created:
Build a static site with NuxtJS and FQL driver
We will begin with a generic template. We can obtain this by running the following command:
npx create-nuxt-app static-blog
Below are some settings you can use to get started quickly:
? Project name: static-blog
? Programming language: JavaScript
? Package manager: Npm
? UI framework: Tailwind CSS
? Nuxt.js modules: (Press <space> to select, <a> to toggle all, <i> to invert selection)
? Linting tools: ESLint, Prettier
? Testing framework: None
? Rendering mode: Universal (SSR / SSG)
? Deployment target: Static (Static/Jamstack hosting)
? Development tools: (Press <space> to select, <a> to toggle all, <i> to invert selection)
? Continuous integration: (Press <space> to select, <a> to toggle all, <i> to invert selection)
? What is your GitHub username? paymon123
? Version control system: Git
Set Fauna Key
Databases — > blogposts — > Security — > New Key
- Role = Server
- Name = FAUNA_SERVER_KEY
Create another .env file in the Nuxt project directory:
FAUNA_SERVER_KEY=
Install slugify
Slugify generates browser compatible slugs from each post title to be used as its unique route:
npm install slugify
Nuxt configuration
Add code to nuxt.config.js:
Components and layouts
Create directory /layouts/ and add default.vue:
Replace index.vue with below:
Create directory pages/posts/ and add _slug.vue:
Generate static files in /dist/
npm run generate
Serve locally:
npx serve dist
At this point you should have the complete blog site running locally, displaying the seed data and running on a url such as localhost://3000.
Deploy on Netlify CDN
cd static-blog
Global install Netlify CLI:
npm install netlify-cli -g
Login to Netlify CLI:
netlify login
Create new site:
netlify init
? Do you want to create a Netlify site without a git repository? Yes, create and deploy site manually
? Team: your-netlify-team-name
Choose a unique site name (e.g. super-cool-site.netlify.app) or leave it blank for a random name. You can update the site name later.
? Site name (optional): jamstack-blog-template
Deploy to production:
netlify deploy -d dist -p
Custom Domain
At this point, your app should be deployed at a url similar to xxxxxxxx.netlify.app. Setting up a custom domain can be done in multiple ways. The easiest way is to buy and register the domain directly through Netlify, but in this example I used an external domain.
With Google domains, I purchased jamstacktutorial.com for $12.99/year. Netlify has a simple and comprehensive set of instructions for configuring external domains. If you follow them correctly you should get something like below.
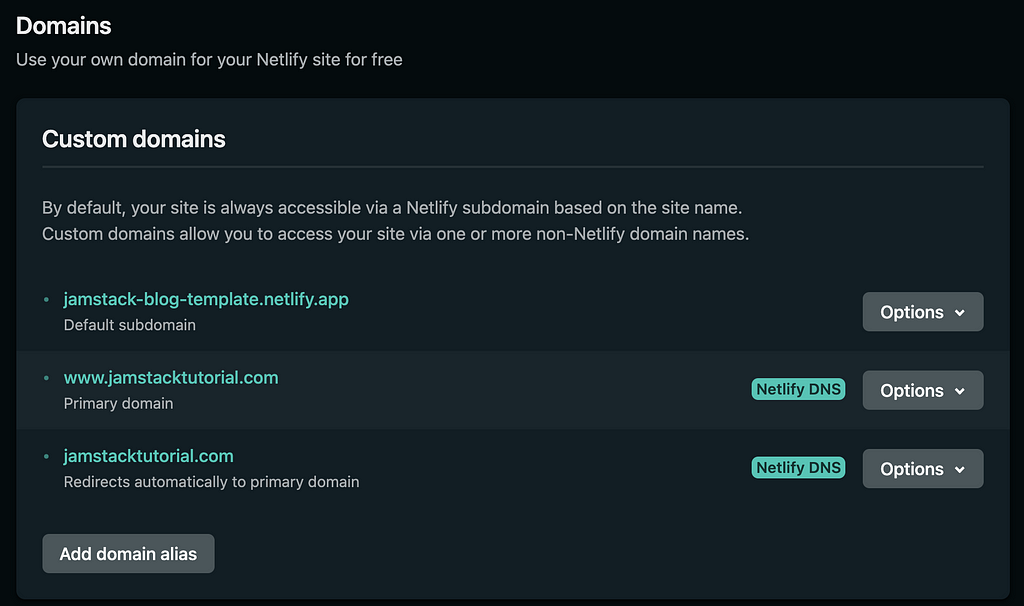
Keep in mind that you may have to wait up to 24 hours for web propagation and SSL certificates, although normally it should not take longer than an hour.
Conclusion
In the next section, we will
- Add authentication and CRUD
- Create deployment pipeline to refresh content
- Optimize image rendering
If you enjoyed this tutorial, be sure to comment and follow!
Build applications differently
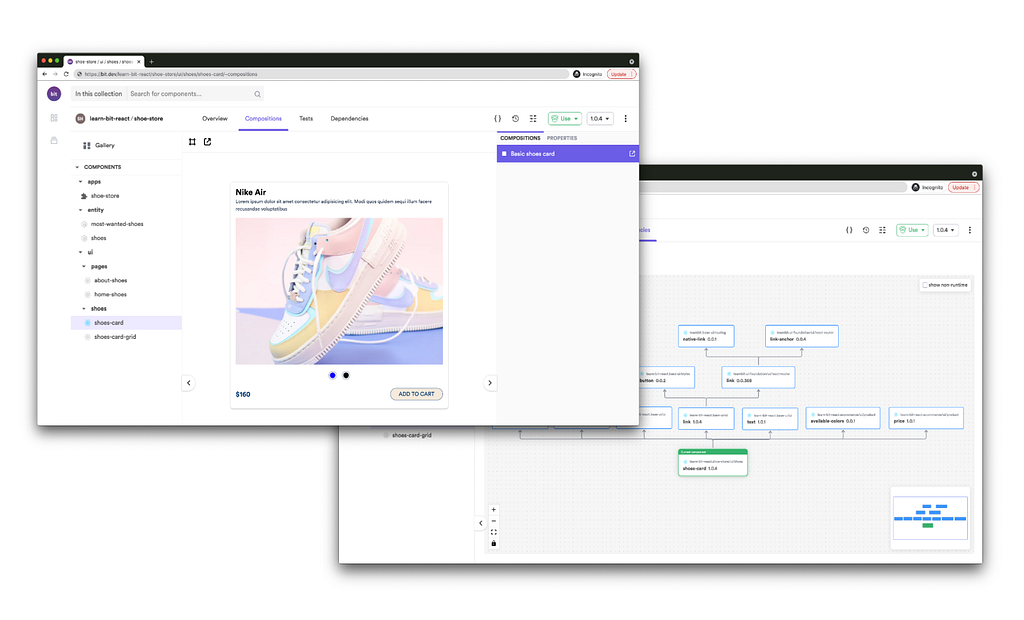
OSS Tools like Bit offer a new paradigm for building modern apps.
Instead of developing monolithic projects, you first build independent components. Then, you compose your components together to build as many applications as you like. This isn’t just a faster way to build, it’s also much more scalable and helps to standardize development.
It’s fun, give it a try →
Learn more
- Building a React Component Library — The Right Way
- 7 Tools for Faster Frontend Development in 2022
- Microservices are Dead — Long Live Miniservices
Serverless JAMstack with NuxtJS, FaunaDB, GraphQL and Netlify was originally published in Bits and Pieces on Medium, where people are continuing the conversation by highlighting and responding to this story.
This content originally appeared on Bits and Pieces - Medium and was authored by Paymon
Paymon | Sciencx (2022-02-21T13:51:58+00:00) Serverless JAMstack with NuxtJS, FaunaDB, GraphQL and Netlify. Retrieved from https://www.scien.cx/2022/02/21/serverless-jamstack-with-nuxtjs-faunadb-graphql-and-netlify/
Please log in to upload a file.
There are no updates yet.
Click the Upload button above to add an update.