
This content originally appeared on DEV Community and was authored by Amarachi Iheanacho
In the age of large multi-user websites, it is essential to control what information a user has access to. This is achieved with authentication, a process which collects and identifies users who request access to an application or database.
What we are building
This article discusses authenticating, collecting, and displaying a piece of user information with Appwrite’s auth0 provider.
GitHub URL
https://github.com/Iheanacho-ai/auth0-authentication
Prerequisites
To get the most out of this project, the following are required:
- A basic understanding of CSS, JavaScript, and Vue.js.
- Docker Desktop installed on the computer; run the
docker -vcommand to verify that we have Docker Desktop installed. If not, install it from the Get Docker documentation. - An Appwrite instance running on our computer. Check out this article to create a local Appwrite instance; we will use Appwrite’s robust database and Realtime service to manage our application.
- An auth0 account; create a free account if you don’t have one.
Setting up our Vue.js application
We install the Vue CLI by running these terminal commands to create a new Vue project.
    npm install -g @vue/cli
    # OR
    yarn global add @vue/cli
After installing the Vue CLI, we navigate to our preferred directory and create a new project.
vue create <name of our project>
We change the directory to the project and start a development server with:
npm run serve
To see the app, we go to http://localhost:8080/
Installing dependencies
Installing Tailwind CSS
Tailwind CSS is a "utility-first" CSS framework that allows us to create user interfaces for web applications rapidly.
To install Tailwind CSS in our project, we run the following terminal commands.
    npm install -D tailwindcss@latest postcss@latest autoprefixer@latest
    npx tailwindcss init -p
These commands create two files in the root directory of our project, tailwind.config.js and postcss.config.js.
In our tailwind.config.js, we add the paths to all our template files with this code below.
    module.exports = {
      purge: ['./index.html', './src/**/*.{vue,js,ts,jsx,tsx}'],
      content: [],
      theme: {
        extend: {},
      },
      plugins: [],
    }
Next, we add the tailwind directives in our src/index.css file.
    @tailwind base;
    @tailwind components;
    @tailwind utilities;
Installing Vue router
Routing is the technology used to switch between different pages in our application based on the changes in the current URL.
We run this terminal command to enable our application to use Vue Router.
    npm install vue-router@4

    #or

    yarn add vue-router@4
Installing Appwrite
Appwrite is an open-source, end-to-end, backend server solution that allows developers to build applications faster.
To use Appwrite in our Vue application, we install the Appwrite client-side SDK for web applications.
npm install appwrite
Creating a new Appwrite project
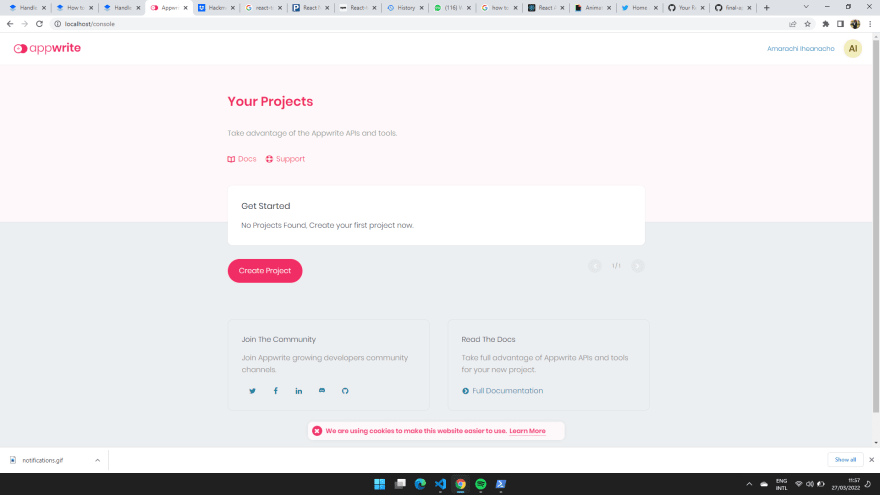
During the creation of the Appwrite instance, we specified what hostname and port we see in our console. The default value is localhost:80, so go to localhost:80 and create a new account to see our console.
From our console, click the Create Project button to start a new project.
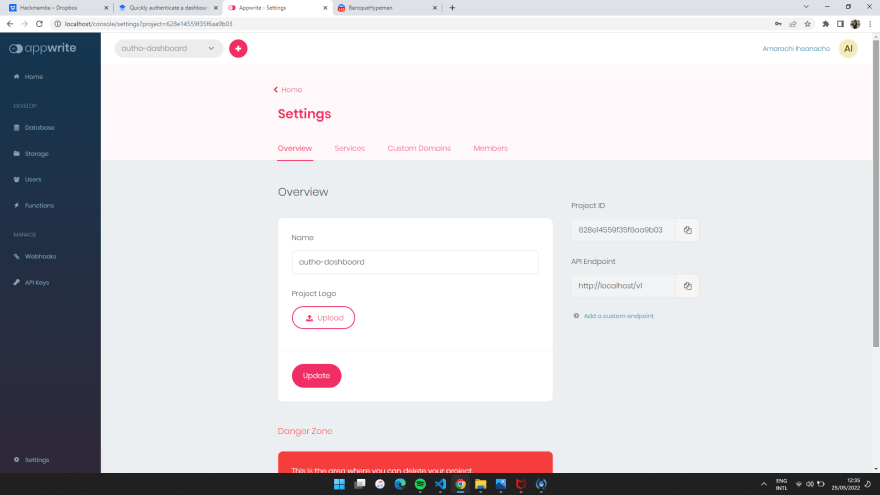
Our project dashboard appears once we have created the project. At the top of the page, there is a Settings bar. Click it to access the Project ID and API Endpoint.

We copy the Project ID and API Endpoint, which we need to initialize the Appwrite Web SDK.
We create an init.js file at our project's root directory to initialize the Appwrite Web SDK with the following code.
    import { Appwrite } from 'appwrite';
    export const sdk = new Appwrite();
    sdk
      .setEndpoint('http://localhost/v1') // Replace this with your endpoint
      .setProject('projectID'); // Replace this with your ProjectID
Enabling the auth0 provider in our application
In the Appwrite web Console, we click on Users on the left side of the dashboard to set up the auth0 provider for our application.

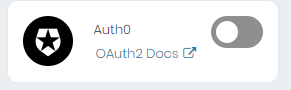
We go to the Settings tab to see the OAuth2 providers supported by Appwrite.


Creating an application on the auth0 dashboard
To enable us to use Appwrite’s auth0 provider, we create an application on the auth0 dashboard. Check out the auth0 documentation to understand how to create an auth0 application.
After creating our auth0 application, we click on the Settings tab to copy the Domain, Client ID, and Client Secret information of our auth0 application. We will use this information in our Appwrite console.

In our Appwrite console, we toggle the auth0 provider to open up the Auth0 OAuth2 settings.
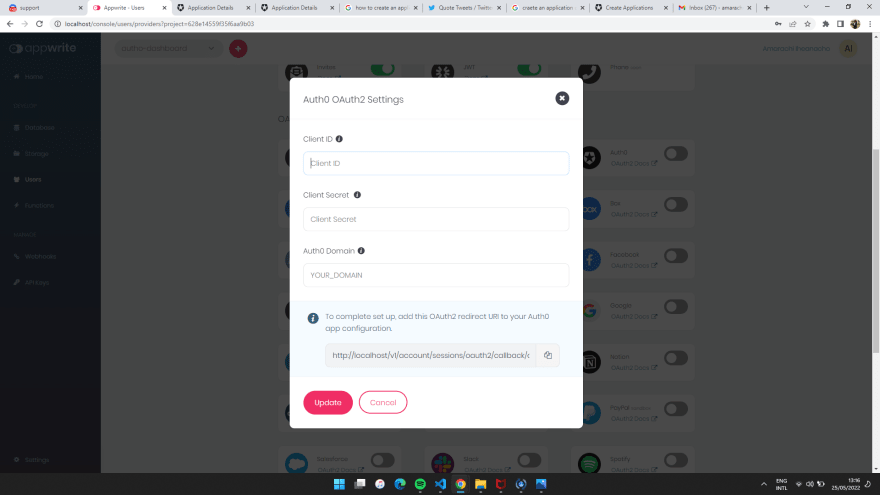
Fill out the input fields with the information gathered from the auth0 dashboard.
Next, we copy the redirect URL on the Appwrite console and paste it into the Allowed Callback URLs input field on our auth0 dashboard.

Authenticating users in our application
Our application will contain two pages. The first page will authenticate and log in a user using the Appwrite auth0 provider, and the second page will display the user details.
Creating our login page
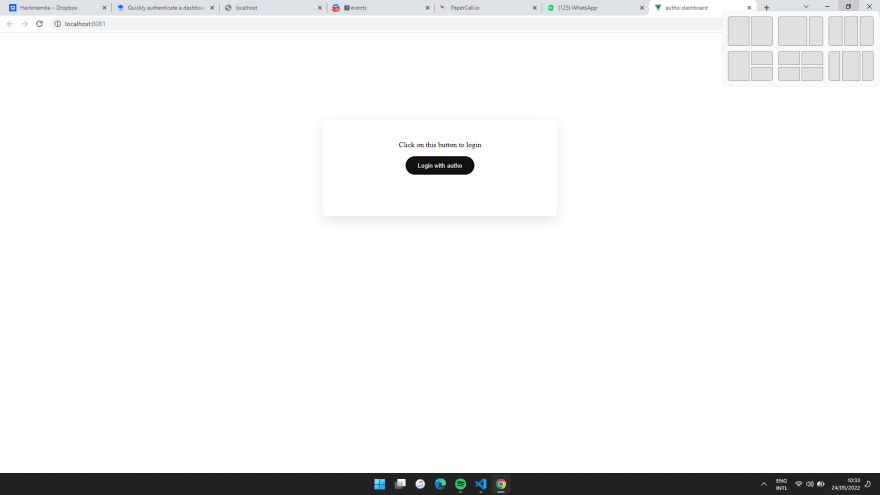
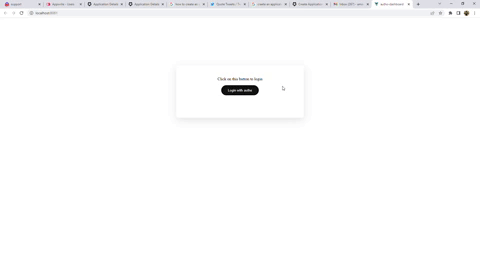
Our login page will consist of a button to allow users to log in via auth0.
We create a views folder for this user interface in our' src' folder. This src/views folder will contain a Home.vue file.
With this code, we create our login page in our src/views/Home.vue file.
    <template>
      <div class="login">
          <p>Click on this button to login</p>
          <button class= "button">Login with autho</button>
        </div>
    </template>
Routing to our pages
In our src/main.js file, we enable our application to use router to navigate to different pages with this piece of code.
    import { createApp } from 'vue'
    import App from './App.vue'
    import router from './router'
    import './index.css';

    createApp(App).use(router).mount('#app')
Next, we create a router folder in our src folder. Our router folder will contain an index.js file. This file will be responsible for defining what routes lead to specific components.
    // src/router/index.js
    import { createRouter,createWebHistory } from 'vue-router'
    import Home from '@/views/Home'
    import Notification from '@/views/Notifications'
    const routes = [
        {
            path: '/',
            name: 'Home',
            component: Home
        }
    ]
    const router = createRouter({
        history: createWebHistory(process.env.BASE_URL),
        routes
    })
    export default router;
The code block above does the following:
- Creates a
routesarray containing the route's path and the component we want the route to lead to. - Facilitates routing using the Vue
createRoutermethod, which receives an object as a parameter. This object parameter has two fields, a history field and a route field, whose value is our route array.
Next, in our App.vue file, we add the router-view component and the CSS styles for the login page.
    <template>
      <div class="app-container">
        <router-view ></router-view>
       </div>
    </template>

    <script>
      export default {
        name: 'App',
      }
    </script>

    <style>
      .login{
        width: 450px;
        height: 150px;
        background: #fff;
        box-shadow: 0 10px 30px rgba(0,0,0,0.1);
        border-radius: 7px;
        margin: 10% auto;
        text-align: center;
        padding: 30px;
      }

      .button{
        width: 150px;
        height: 40px;
        background-color: #111;
        color: #fff;
        border-radius: 30px;
      }
    </style>
The router-view component represents our component. In the code block above, we specify the position at which our app is situated.
To avoid errors resulting from non-multi-level component names, we replace our vue.config.js file with this code.
    const { defineConfig } = require('@vue/cli-service')
    module.exports = defineConfig({
      transpileDependencies: true,
      lintOnSave:false
    })
Go to http://localhost:8080/ to see our Home page.
Creating the user profile page
In our src/views folder, we create a Dashboard.vue file to display the logged-in user profile.
    <template>
        <div class="user-details">
            <p><span>Name: </span></p>
            <p><span>Email: </span></p>
            <button class= "button">LogOut with Auth0</button>
        </div>
    </template>
Next, we add the CSS styles for the user profile in the App.vue file.
    <style>
    .login, .user-details{
      width: 450px;
      height: 150px;
      background: #fff;
      box-shadow: 0 10px 30px rgba(0,0,0,0.1);
      border-radius: 7px;
      margin: 10% auto;
      text-align: center;
      padding: 30px;
    }

    .button{
      width: 150px;
      height: 40px;
      background-color: #111;
      color: #fff;
      border-radius: 30px;
    }

    span{
      font-weight: 600;

    }
    </style>
We add a route to the routes object in the src/router/index.js file to view our Dashboard page in the browser.
   // src/router/index.js
   const routes = [
        {
            path: '/',
            name: 'Home',
            component: Home
        },
       {
            path: '/dashboard',
            name: 'Dashboard',
            component: Dashboard
        }
    ]
Here is how our src/router/index.js file looks.
    import { createRouter,createWebHistory } from 'vue-router'
    import Home from '@/views/Home'
    import Dashboard from '@/views/Dashboard'
    const routes = [
        {
            path: '/',
            name: 'Home',
            component: Home
        },
        {
            path: '/dashboard',
            name: 'Dashboard',
            component: Dashboard
        }
    ]
    const router = createRouter({
        history: createWebHistory(process.env.BASE_URL),
        routes
    })
    export default router;
To see our user profile page, go to http://localhost:8080/dashboard.

Authenticating a user with Appwrite’s auth0 provider
To allow a user to log in to their account using the auth0 provider, we write this piece of code in the Home.vue file of our project.
    <script>
    import {sdk} from '../../init';
      export default {
        name: 'Home',
        methods: {
          loginWithAutho: async function(){
            try {
              await sdk.account.createOAuth2Session('auth0', 'http://localhost:8080/dashboard', 'http://localhost:8080/error')
            } catch (error) {
              console.log(error)
            }
          }
        }
      };
    </script>
We create an account session using the Appwrite createOAuth2Session method in the code block above. This createOAuth2Session method receives three parameters:
- The OAuth2 provider we want to sign in a user with, which, in this example, is auth0.
- The success argument is a redirect URL back to our app when the login is complete.
- The failure argument is a redirect URL when the login fails.
Next, we pass the loginWithAutho method on the @click event listener on the Login with autho button.
<button class= "button" @click="loginWithAutho">Login with autho</button>
Here is how the Home.vue file looks.
    <template>
        <div class="login">
            <p>Click on this button to login</p>
            <button class= "button" @click="loginWithAutho">Login with autho</button>
          </div>
    </template>

    <script>
    import {sdk} from '../../init';
      export default {
        name: 'Home',
        methods: {
          loginWithAutho: async function(){
            try {
              await sdk.account.createOAuth2Session('auth0', 'http://localhost:8081/dashboard', 'http://localhost:8081/error')
            } catch (error) {
              console.log(error)
            }
          }
        }
      };
    </script>
Displaying the stored user in our application
To display the user currently logged into our application, we write this code in the script section of our Dashboard.vue file.
    <script>
    import {sdk} from '../../init';
      export default {
        name: 'Dashboard',
        data(){
          return{
            namme: '',
            email: '',
            response: ''
          }
        },
        mounted: function(){
            this.getUserSession()
        },
        methods: {
          getUserSession: async function(){
            try {
              this.response = await sdk.account.get()
              if (this.response) {
                this.name = this.response.name,
                this.email = this.response.email
              }

            } catch (error) {
              console.log(error)
            }
          },
          logOutWithAutho: async function(){
            try {
              await sdk.account.deleteSession('current')
              alert('logout successful')
              this.$router.push('/')
            } catch (error) {
              console.log(error)
            }
          }
        }
      };

    </script>
In the code block above, we do the following:
- Create
name,email, andresponsevariables to hold a user's information. - Create a
getUserSessionfunction to fetch the current logged in user information. ThisgetUserSessionfunction updates thename,email, andresponsevariable. - Use the mounted lifecycle hook to run the
getUserSessionfunction when the application mounts. - Create a
logOutWithAuthofunction that logs a user out of our application by using the AppwritedeleteSessionmethod. ThislogOutWithAuthofunction then navigates to our application’s home page. - Logs any error encountered during user logout.
In the Dashboard.vue file, we render the name and email variables. Next, we pass the logOutWithAutho function to the @click event listener on the LogOut with Auth0 button.
    <template>
      <div class="user-details">
        <p><span>Name: </span>{{name}}</p>
        <p><span>Email: </span>{{email}}</p>
        <button class= "button" @click="logOutWithAutho">LogOut with Auth0</button>
      </div>
    </template>
Here is how our application looks.
Conclusion
This article discussed using Appwrite's OAuth2 auth0 provider to authenticate a user.
Resources
Here are some resources that might be helpful.
This content originally appeared on DEV Community and was authored by Amarachi Iheanacho
Amarachi Iheanacho | Sciencx (2022-06-30T14:47:04+00:00) Quickly authenticate a dashboard in Vue.js using Appwrite and Auth0. Retrieved from https://www.scien.cx/2022/06/30/quickly-authenticate-a-dashboard-in-vue-js-using-appwrite-and-auth0/
Please log in to upload a file.
There are no updates yet.
Click the Upload button above to add an update.