
This content originally appeared on DEV Community and was authored by Praveen Kumar
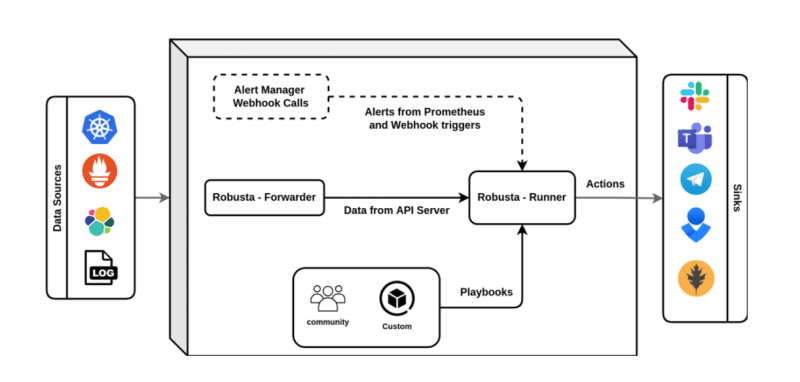
Robusta is the CNCF member, Which is open source and used on monitoring layer for Kubernetes and automations. Provides valuable insights into Kubernetes clusters and integrates with various monitoring and alerting tools Commonly used with Prometheus but not limited.
First as the source of truth to check parent website for updated templates https://docs.robusta.dev/master/installation.html
Installation steps
There are few ways of installations like Robusta cli and docker, Currently we are using Robusta CLI
By default, on Linux and mac you have python install or else check and install python before the Robusta.
Step 1 :
$ helm repo add robusta https://robusta-charts.storage.googleapis.com && helm repo update
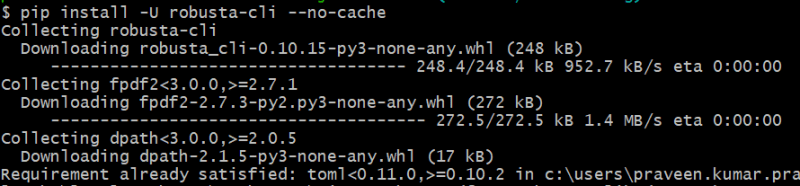
$ pip install -U robusta-cli --no-cache
(check the python version, coz Python 3.7 and higher is required)
Step 2 : Robusta configurations required sink (automations in place to handle alerts in your Kubernetes cluster by sending them to sinks with added enrichments that tell you what is happening in your cluster. It also suggests common fixes that give us better alerts)
Sinks Available : https://docs.robusta.dev/master/catalog/sinks/index.html
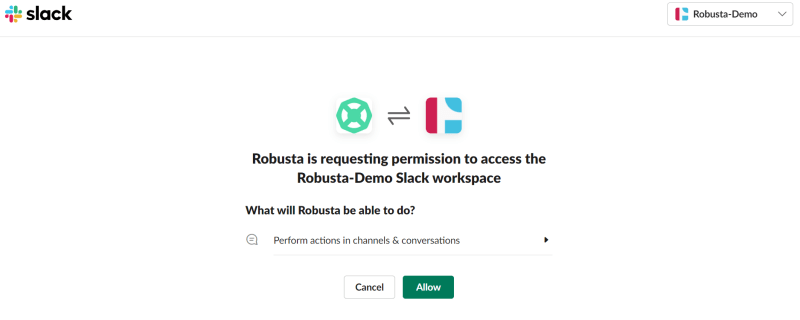
$ robusta gen-config
will ask for y or n popup, once y is been choosed on browser ask to add on channel slack.
It will create the generated_values.yaml in current path

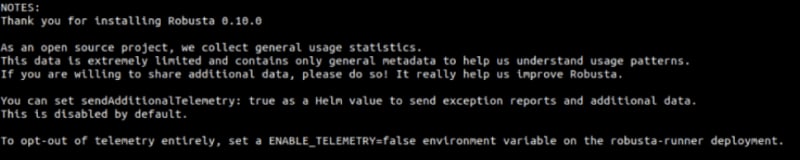
Step 3 : Run the following commands to install Helm charts
$ helm install robusta robusta/robusta -n your_namespace -f ./generated_values.yaml \
--set clusterName=
Step 4 : To check the deployments on robusta
$ kubectl get pods -n your_namespace
$ robusta logs
Step 5 : To check the Robusta create some error like crashing pod
$ kubectl apply -f https://gist.githubusercontent.com/robusta-lab/283609047306dc1f05cf59806ade30b6/raw
$ kubectl get pods -n your_namespace
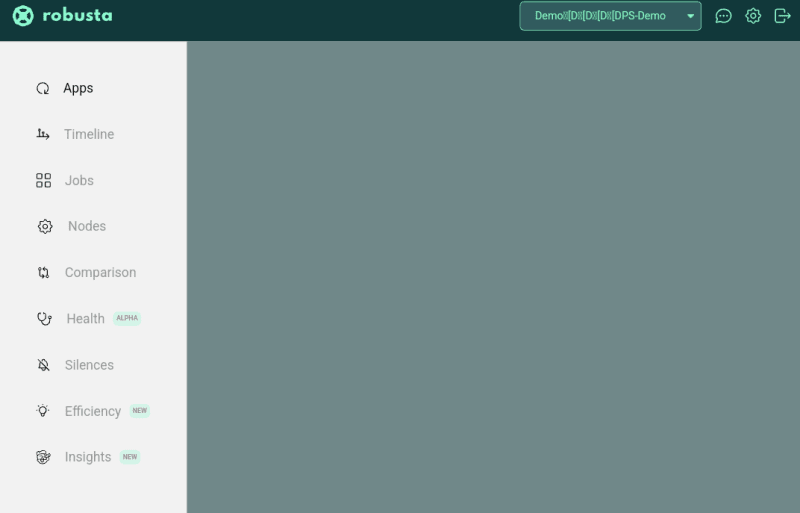
Step 6 : Use Robusta UI that we enabled in Step 2 option
URL : https://platform.robusta.dev/
Two options to choose like Google and Azure, provide the mail id which is given in Step 2
Continue......
This content originally appeared on DEV Community and was authored by Praveen Kumar
Praveen Kumar | Sciencx (2023-04-26T16:59:29+00:00) Robusta Installation. Retrieved from https://www.scien.cx/2023/04/26/robusta-installation/
Please log in to upload a file.
There are no updates yet.
Click the Upload button above to add an update.