
This content originally appeared on DEV Community and was authored by JosephNgabo
Step 1: Create EC2 Instance
Follow the steps to create an EC2 instance via AWS Console.
Make sure you have a security group allowing HTTP (port 80) and SSH (port 22) access.
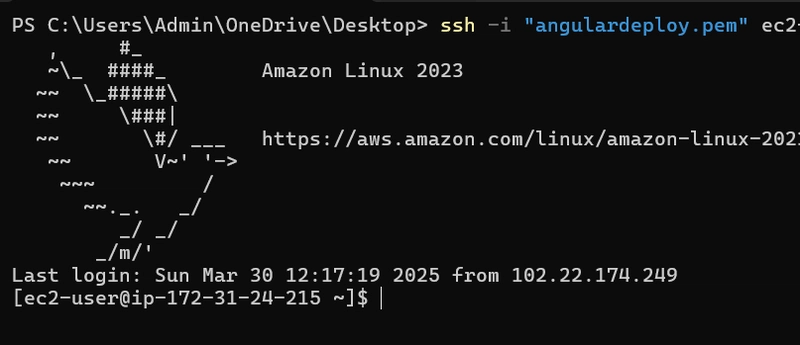
Step 1.1 : Connecting EC2 Instance via SSH
- To securely connect to your EC2 instance, you'll need the .pem private key file you downloaded during the creation of your EC2 instance. Use the following SSH command to connect:
ssh -i /path/to/your/private-key.pem ec2-user@<your-ec2-public-ip>
Note: If you encounter permissions issues, you might need to adjust the permissions of the .pem key file:
chmod 400 /path/to/your/private-key.pem
Once connected, you should see a terminal prompt for the EC2 instance.
Step 2: Create the Build for Angular Application
Run the following Angular CLI command to build your project for production:
ng build
The build output will be stored in the dist/ directory under the name of your app (dist/).
Step 3: Transfer Build to EC2 Instance
Use SCP to securely transfer your built Angular project to your EC2 instance:
scp -r -i ~/OneDrive/Desktop/angulardeploy.pem "/c/Users/Admin/OneDrive/Desktop/KANBAN/Kanban-Task-Management-Web-App/dist/frontend/" ec2-user@ec2-34-224-41-250.compute-1.amazonaws.com:~/
Step 4: Nginx Setup with Paths
- Install Nginx on your EC2 instance if it is not already installed by using the following respectively commands:
sudo yum update
sudo yum install nginx
sudo amazon-linux-extras install nginx1
sudo systemctl start nginx
sudo systemctl status nginx -1
- Update Nginx.conf file: Edit the Nginx configuration file:
sudo vim /etc/nginx/nginx.conf
- Update the
serverblock with the path to your application directory and set up atry_filesdirective:
server {
    listen       80;
    listen       [::]:80;
    server_name  _;

    location / {
        autoindex on;
        root /home/ec2-user/frontend;
        try_files $uri $uri/ /index.html;
    }
    root         /usr/share/nginx/html;

    error_page  404 /404.html;
    location = /404.html {
    }

    error_page   500 502 503 504 /50x.html;
    location = /50x.html {
    }
}
- Provide permissions:
namei -om /usr/share/nginx/html
namei -om /home/ec2-user/YourBuildName
sudo chmod 755 /home/ec2-user
namei-om /home/ec2-user/YourBuildName
This command ensures that the build directory has the necessary permissions (read, write, and executefor the owner, and read/execute for others) by modifying permissions for /home/ec2-user:
- Verify Nginx is running:
sudo systemctl reload nginx
sudo systemctl restart nginx
Step 5: Test Deployment
Open your browser and navigate to your EC2 instance's public IP or domain name:
http://<your-ec2-public-ip>
This content originally appeared on DEV Community and was authored by JosephNgabo
JosephNgabo | Sciencx (2025-03-30T13:42:47+00:00) Steps to Deploy Angular Application on EC2. Retrieved from https://www.scien.cx/2025/03/30/steps-to-deploy-angular-application-on-ec2/
Please log in to upload a file.
There are no updates yet.
Click the Upload button above to add an update.