
This content originally appeared on Level Up Coding - Medium and was authored by Brion Mario

Background
Every front-end project should have some sort of static code analyzing tool. This will ensure that your team sticks to one coding style and avoids known anti-patterns in development.
Arguably, one of the best lint tools for JavaScript projects is ESLint. It supports a variety of plugins to extend the functionality and has rich east-to-use documentation. ESLint can also be configured to work with TypeScript projects hence previously dominated TSLint was deprecated in favor of ESLint.
In this post, we will look at ESLint integration on both JavaScript and TypeScript based React Projects created with Create React App (CRA) boilerplate.
Do I need a custom ESLint configuration?
Probably not. Because Create React App comes with ESLint already integrated. They use their own sharable ESLint configuration and this can be found under the eslintConfig object in package.json.
If you are fine with using the configuration provided in the boilerplate, you can skip reading now ?.
To checkout the rules and plugins used in react-app ESLint config, click here.
Why use a custom configuration?
Mind you that most of the ESLint rules are tailored for a specific individual or team. For example, using single quotes over double quotes will depend on preference.
It is always better to define your own lining rules based on your/team’s preference if you are working on a long-term project.
Pre-requisites
- NodeJS & npm.
- An app created with Create React App boilerplate.
- ESLint plugin configured in the IDE/Editor. (VSCode Plugin | WebStorm Plugin)
Let’s get started
Remove the existing config
Go to package.json at the root of the project, and remove the eslintConfig object.
Add ESLint configuration
Inside the root directory, let's create a .eslintrc.js file. There are other formats too but I personally prefer the JS format.
# from the root directory
touch .eslintrc.js
Let’s start with the following basic configuration.
This will basically define the environments and parser options.
Now we’ll improve the configuration by adding some useful sharable configurations and plugins.
Add Sharable Configurations (Presets)
✅ eslint:recommended
Enables few key rules in ESLint rule book.
✅ plugin:react/recommended
Enables the recommended React rule set in eslint-plugin-react.
✅ plugin:jsx-a11y/recommended
Enables the recommended accessibility rules in eslint-plugin-jsx-a11y.
✅ plugin:react-hooks/recommended
Enables React Hooks best practices rule set in eslint-plugin-react-hooks.
✅ plugin:jest/recommended
Enables recommended rules in eslint-plugin-jest
✅ plugin:testing-library/react
Enables recommended settings in eslint-plugin-testing-library
Add Plugins
✅ eslint-plugin-import
This plugin intends to support the linting of ES2015+ (ES6+) import/export syntax, and prevent issues with the misspelling of file paths and import names.
Add Rules
You can override the rules defined in the presets to your own liking. I like to have 4 space indentations, double quotes, etc. I can now specify that in the rules object like below.
Also, I will define the sort order of the imports. This rule is supplied by the eslint-plugin-import plugin we added in the previous step.
You can also use plugin:import/recommended as a preset but i like to define my own sorting method. Check the docs for more info.
Optional: If you use lodash in your project and if your build system supports tree shaking, you can restrict the use of the CommonJS imports and non-tree-shakable modules using the following rule.
Following is the final configuration ?. I have enabled few more rules as per my liking and feel free to modify them based on your requirements.
Configuration for TypeScript Projects
If you created a TypeScript project using the CRA TypeScript template, use the overrides object in the configuration to apply the rules to TypeScript files.
You only need to add rules to this section if the base ESLint rule is not supporting TypeScript of you want to add a certain rule only to TypeScript files. Most rules work for both TypeScript & JavaScript.
Add ESLint ignore file
Create a .eslintignore file to ignore certain files/folders from linting. You can ignore the node_modules, distribution folders, cache folders etc.
# from the root directory
touch .eslintignore
Add helper npm Scripts
CRA will usually show the Lint warnings/errors in the terminal when you run the application.
Also if you have the ESLint plugins properly configured in you Editor or IDE, the errors/warnings will be shown inline.
But it is always best to create npm scripts so that you can use them in CI systems as well.
For JavaScript projects, use the following npm scripts.
For TypeScript projects, use the following npm scripts.
Run the Scripts
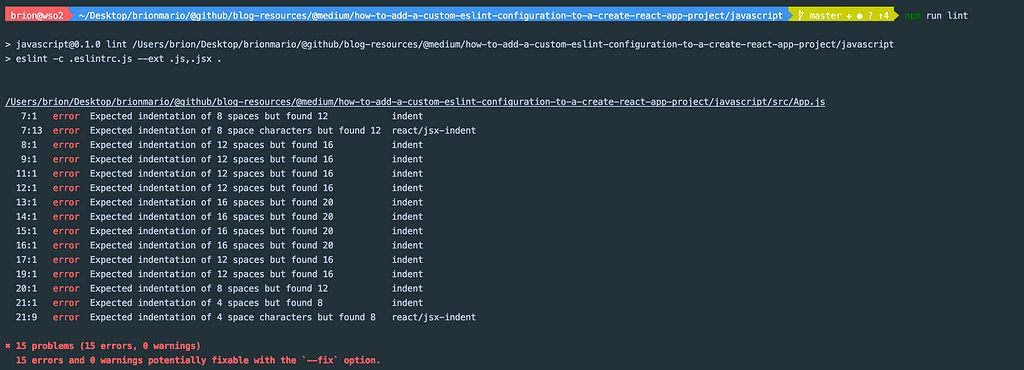
The following command will run the linter for the project and report if there are any issues.
npm run lint
The following script will autofix the possible errors.
npm run lint:fix
Now you have a working application with ESLint configurations. If you need, check out the following optional steps to further configure your setup.
Optional Steps
As an additional step, I like to make sure that any code that violates our ESLint config doesn’t get pushed to the codebase. So basically, i need to enforce running ESLint before a Git commit.
We can easily accomplish the requirement using husky and lint-staged.
What is Husky?
Husky can be used to run scripts before certain Git Hooks are executed. Read the docs.
What is Lint Staged?
Runs linters against staged git files.
Setting Up
- Install Husky
npx husky-init && npm install
2. Install lint-staged.
npm install --save-dev lint-staged
3. Create a lint-staged configuration file.
touch lint-staged.config.js
There are many ways you can add the configuration file. I prefer the JS config. Check out the documentation for alternatives.
4. Add the lint-staged configuration.
For TypeScript projects, add ts and tsx as well as the blob pattern.
“*.+(js|jsx|ts|tsx)”
5. Add an npm script to run lint staged.
Add the following script under the script section in package.json.
"lint:staged": "lint-staged",
Without this, husky will complain about lint-staged command being missing. I guess you can use npx to run lint staged, but this method is cleaner IMO ?.
6. Add a pre-commit hook.
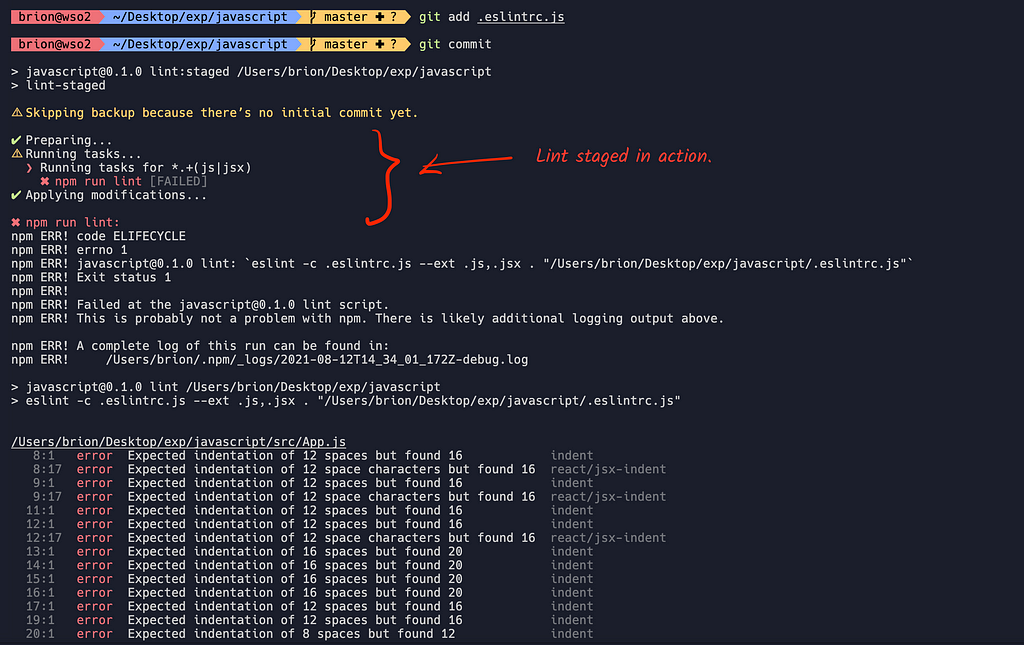
npx husky add .husky/pre-commit "npm run lint:staged"
Testing the flow
I intentionally made a lint violation in App.js and tried to commit a file.
I got the bellow error as expected and I wasn’t allowed to commit to the repository.
Conclusion
Hope you found this blog post useful. Feel free to try this out and if you have any suggestions regarding the blog you can log an issue in this repo.
Links
Happy Coding! ❤️
How to add a custom ESLint configuration to a Create React App project was originally published in Level Up Coding on Medium, where people are continuing the conversation by highlighting and responding to this story.
This content originally appeared on Level Up Coding - Medium and was authored by Brion Mario
Brion Mario | Sciencx (2021-08-16T15:46:40+00:00) How to add a custom ESLint configuration to a Create React App project. Retrieved from https://www.scien.cx/2021/08/16/how-to-add-a-custom-eslint-configuration-to-a-create-react-app-project/
Please log in to upload a file.
There are no updates yet.
Click the Upload button above to add an update.