
This content originally appeared on Laura Kalbag’s Blog Posts and was authored by Laura Kalbag
On my last day in Berlin, I took a lot more photos. Last night I started post-processing them, following Ashley’s email and video tutorials. Post-processing is an area where I have more experience, I’ve done a lot of Photoshopping in the past, but now I’m trying to achieve new effects using Lightroom, which is a very different animal!
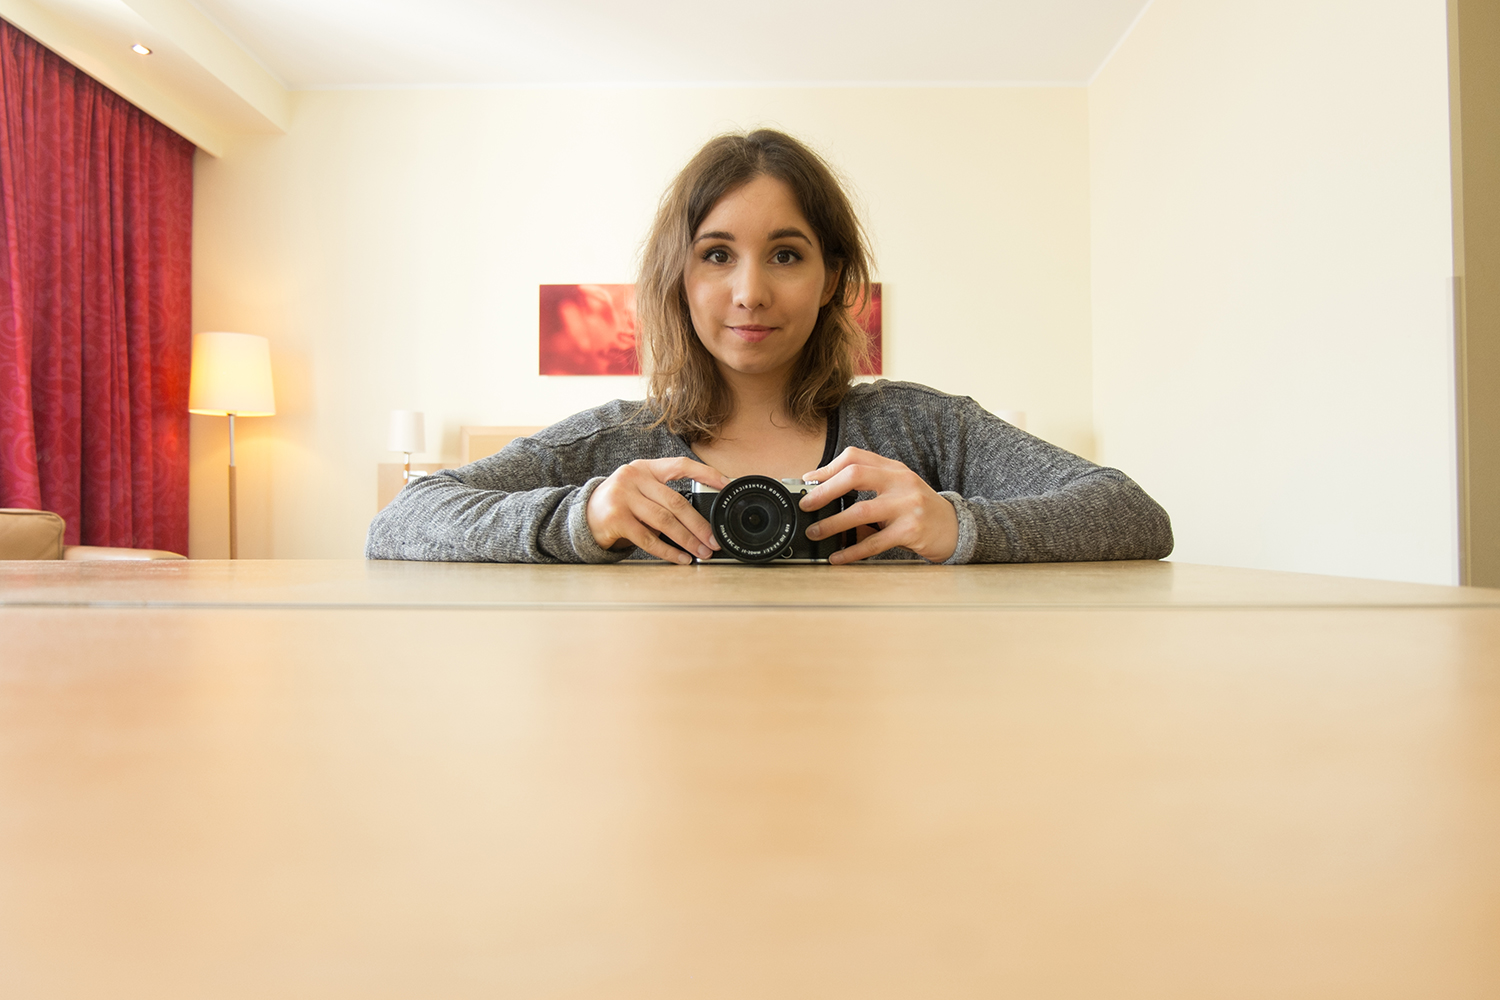
**Me in a hotel room, original.** Travelling in Berlin, and being a bit slow to set up shots, I found my only (mostly) willing model was me. I found it really hard to get the focus on my face, so my hands are slightly crisper.
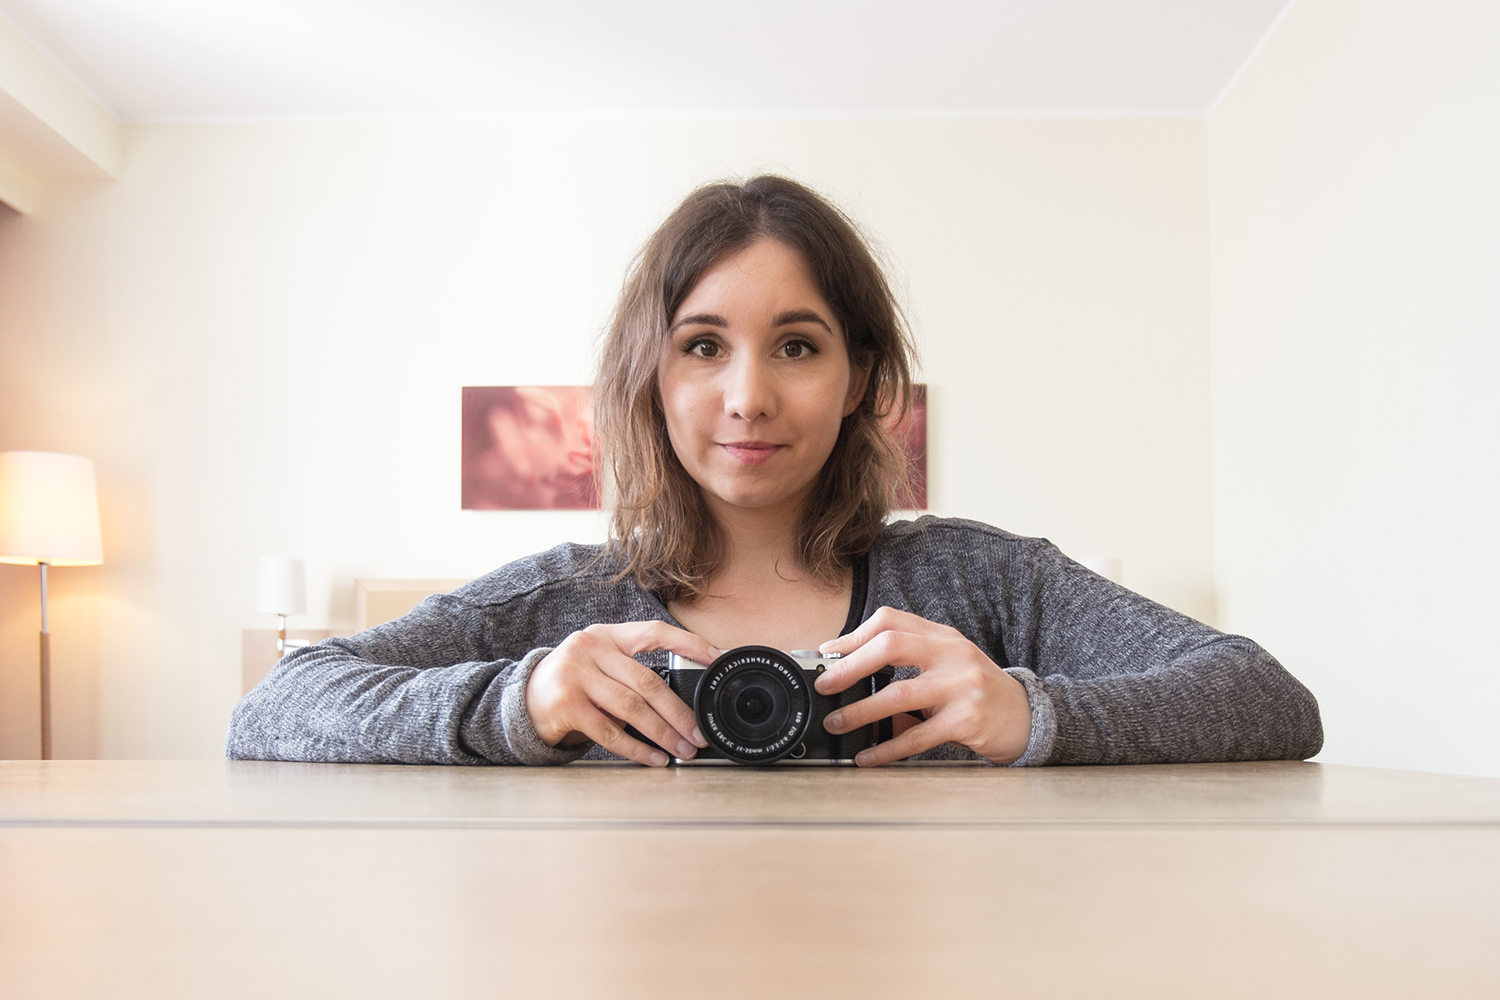
In post-processing, I cropped out the most distracting parts of the shot, and straightened the bottom line of the mirror slightly. I adjusted the white balance so the lighting feels more natural. Using Ashley’s eye pop tutorial, I tweaked my eyes, but because my irises are almost black, I looked a bit scary if I lightened them!
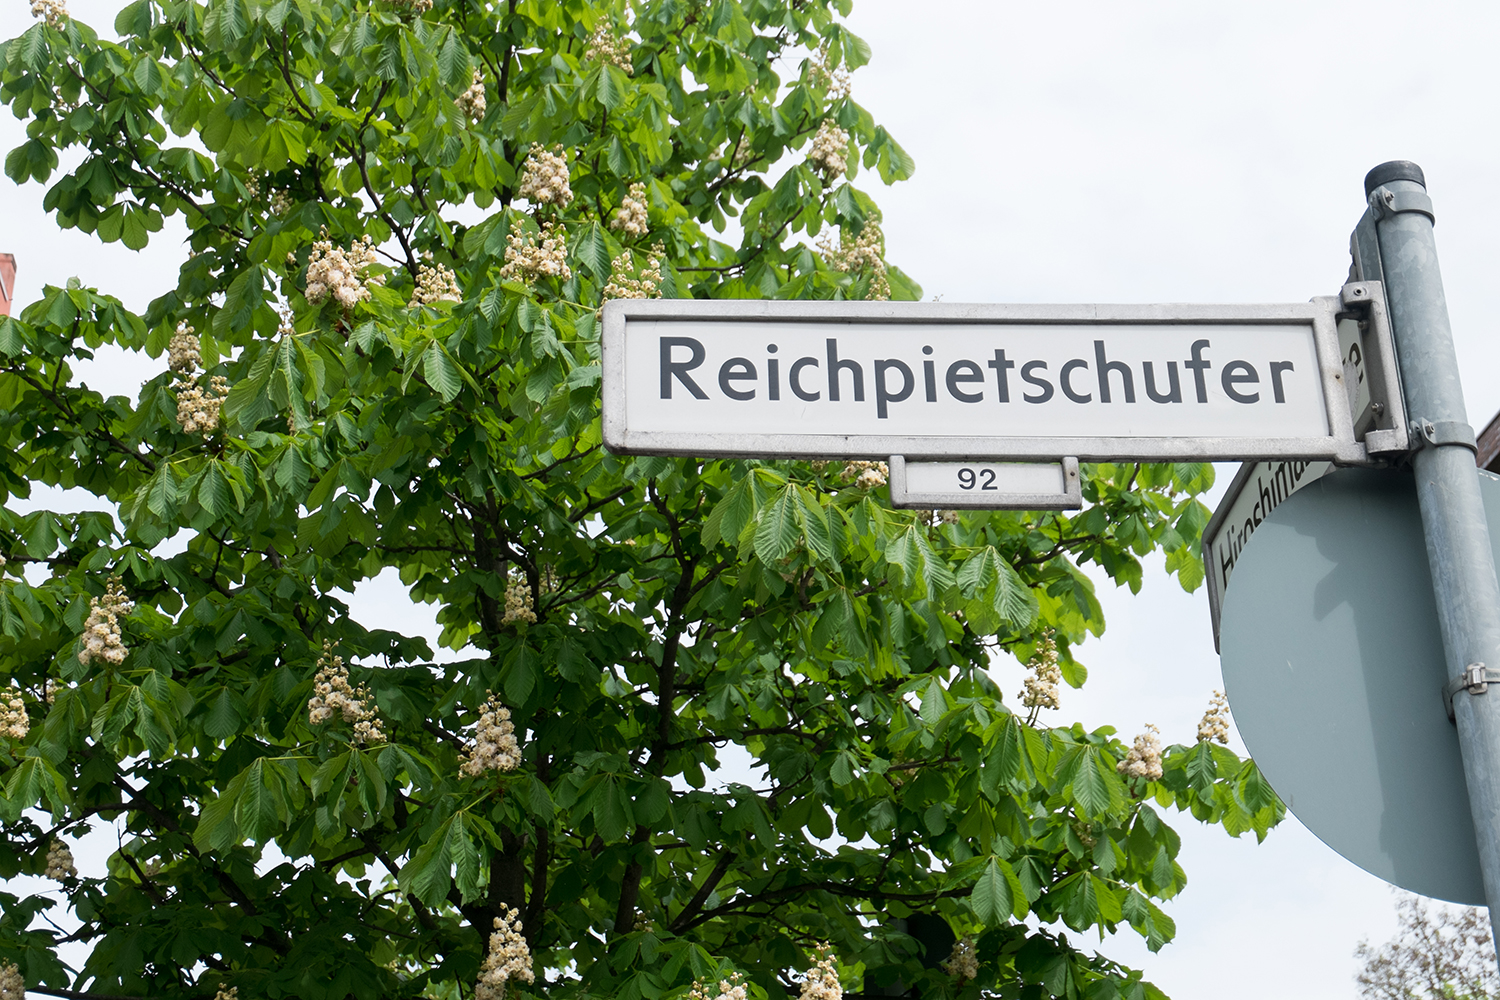
**Reichpietschufer, original.** It was a bright but overcast day, so the original was high contrast but a bit dull.
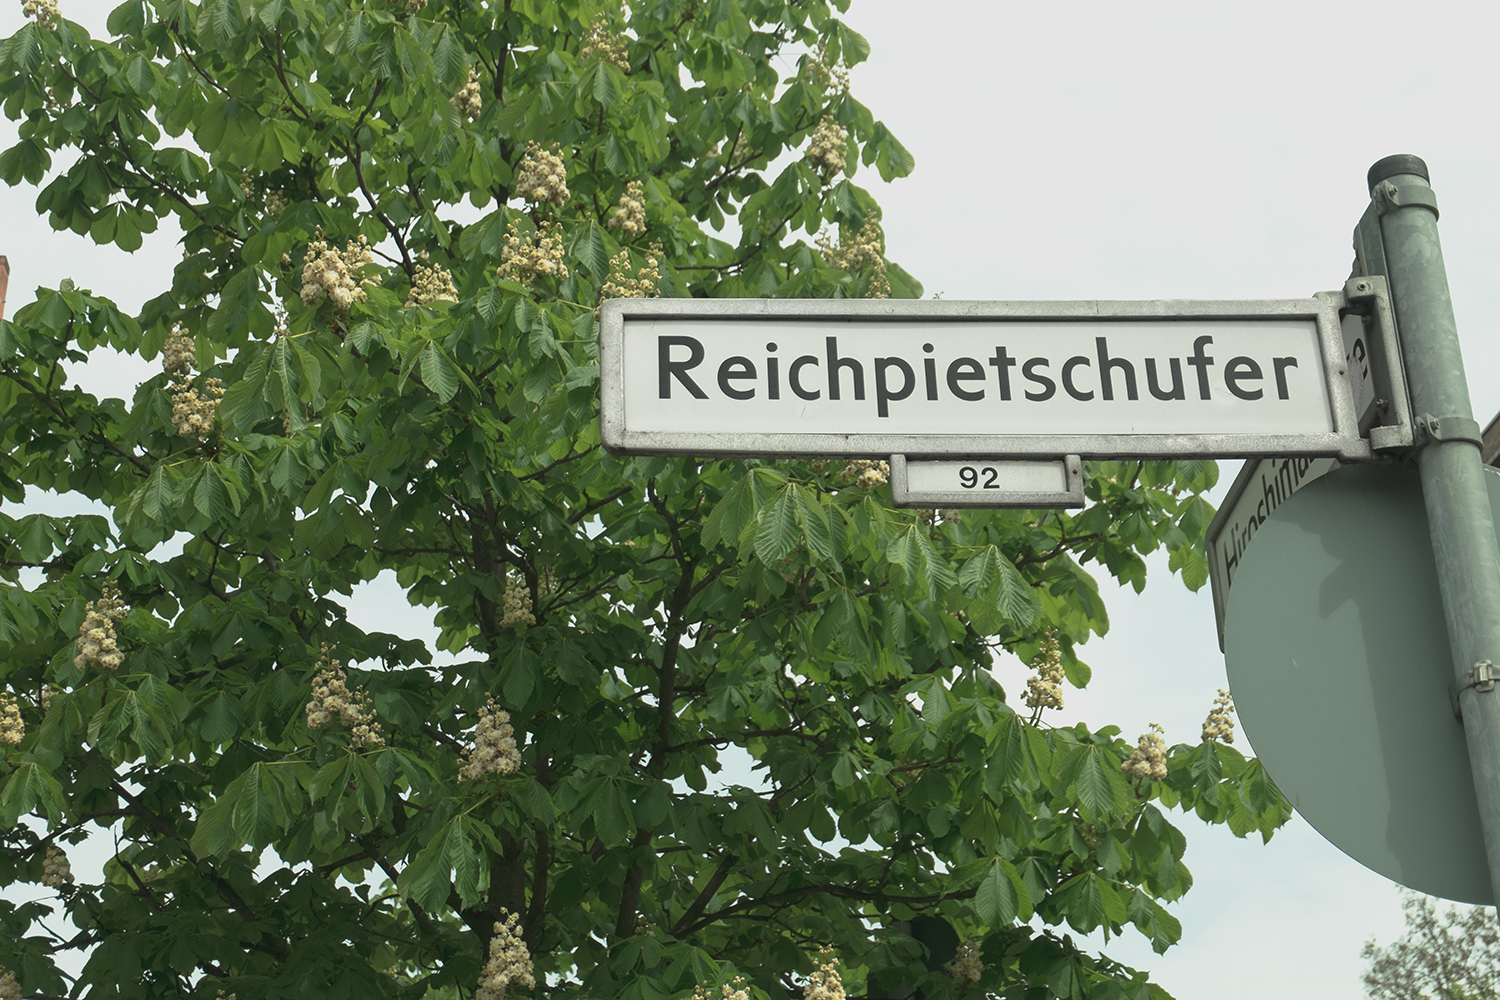
**Reichpietschufer.** I wanted to soften it a little in post-processing, so it has a bit more of a retro feel. I also straightened it so the sign is along a properly horizontal line.
Read the original post, 'Photography on manual: 4 –; Post-processing'.
This content originally appeared on Laura Kalbag’s Blog Posts and was authored by Laura Kalbag
Laura Kalbag | Sciencx (2015-05-09T07:53:33+00:00) Photography on manual: 4 –; Post-processing. Retrieved from https://www.scien.cx/2015/05/09/photography-on-manual-4-post-processing/
Please log in to upload a file.
There are no updates yet.
Click the Upload button above to add an update.