
This content originally appeared on Kitty Giraudel and was authored by Kitty Giraudel
Last week, I gave an internal workshop on HTML and CSS at Edenspiekermann. The point was to give a short introduction on frontend development to whoever was interested. It was such an amazing experience that I thought it would be worth sharing my thoughts on the topic.
The Setup
The workshop lasted 2 days, with a solid 6 hours a day.
There were 9 participants, coming from pretty much all departments (except development, quite obviously): accounting, finance, design, product management, etc. Six of them were women. The participants age ranged between 20 something to 40+.
Most of them had little to no clue what HTML and CSS were about, and I assume some (if not most) of them never really opened a development-oriented text editor. After all, why would they?
The plan
Ironically enough, when it comes to teaching HTML and CSS, I don’t like to work on a website. I believe a website is a product that is already too complex to begin with. Not only is it hard to build from a technical point-of-view, but it also involves a lot of design and user experience to be done right.
Also, we are so used to browsing incredible websites on a daily basis that I believe trying to build one from scratch when knowing nothing about HTML and CSS (let alone JavaScript) can be extremely frustrating. I don’t want people to start with frustration. They will have a hard enough time to overcoming the baby steps that are necessary to write HTML and CSS.
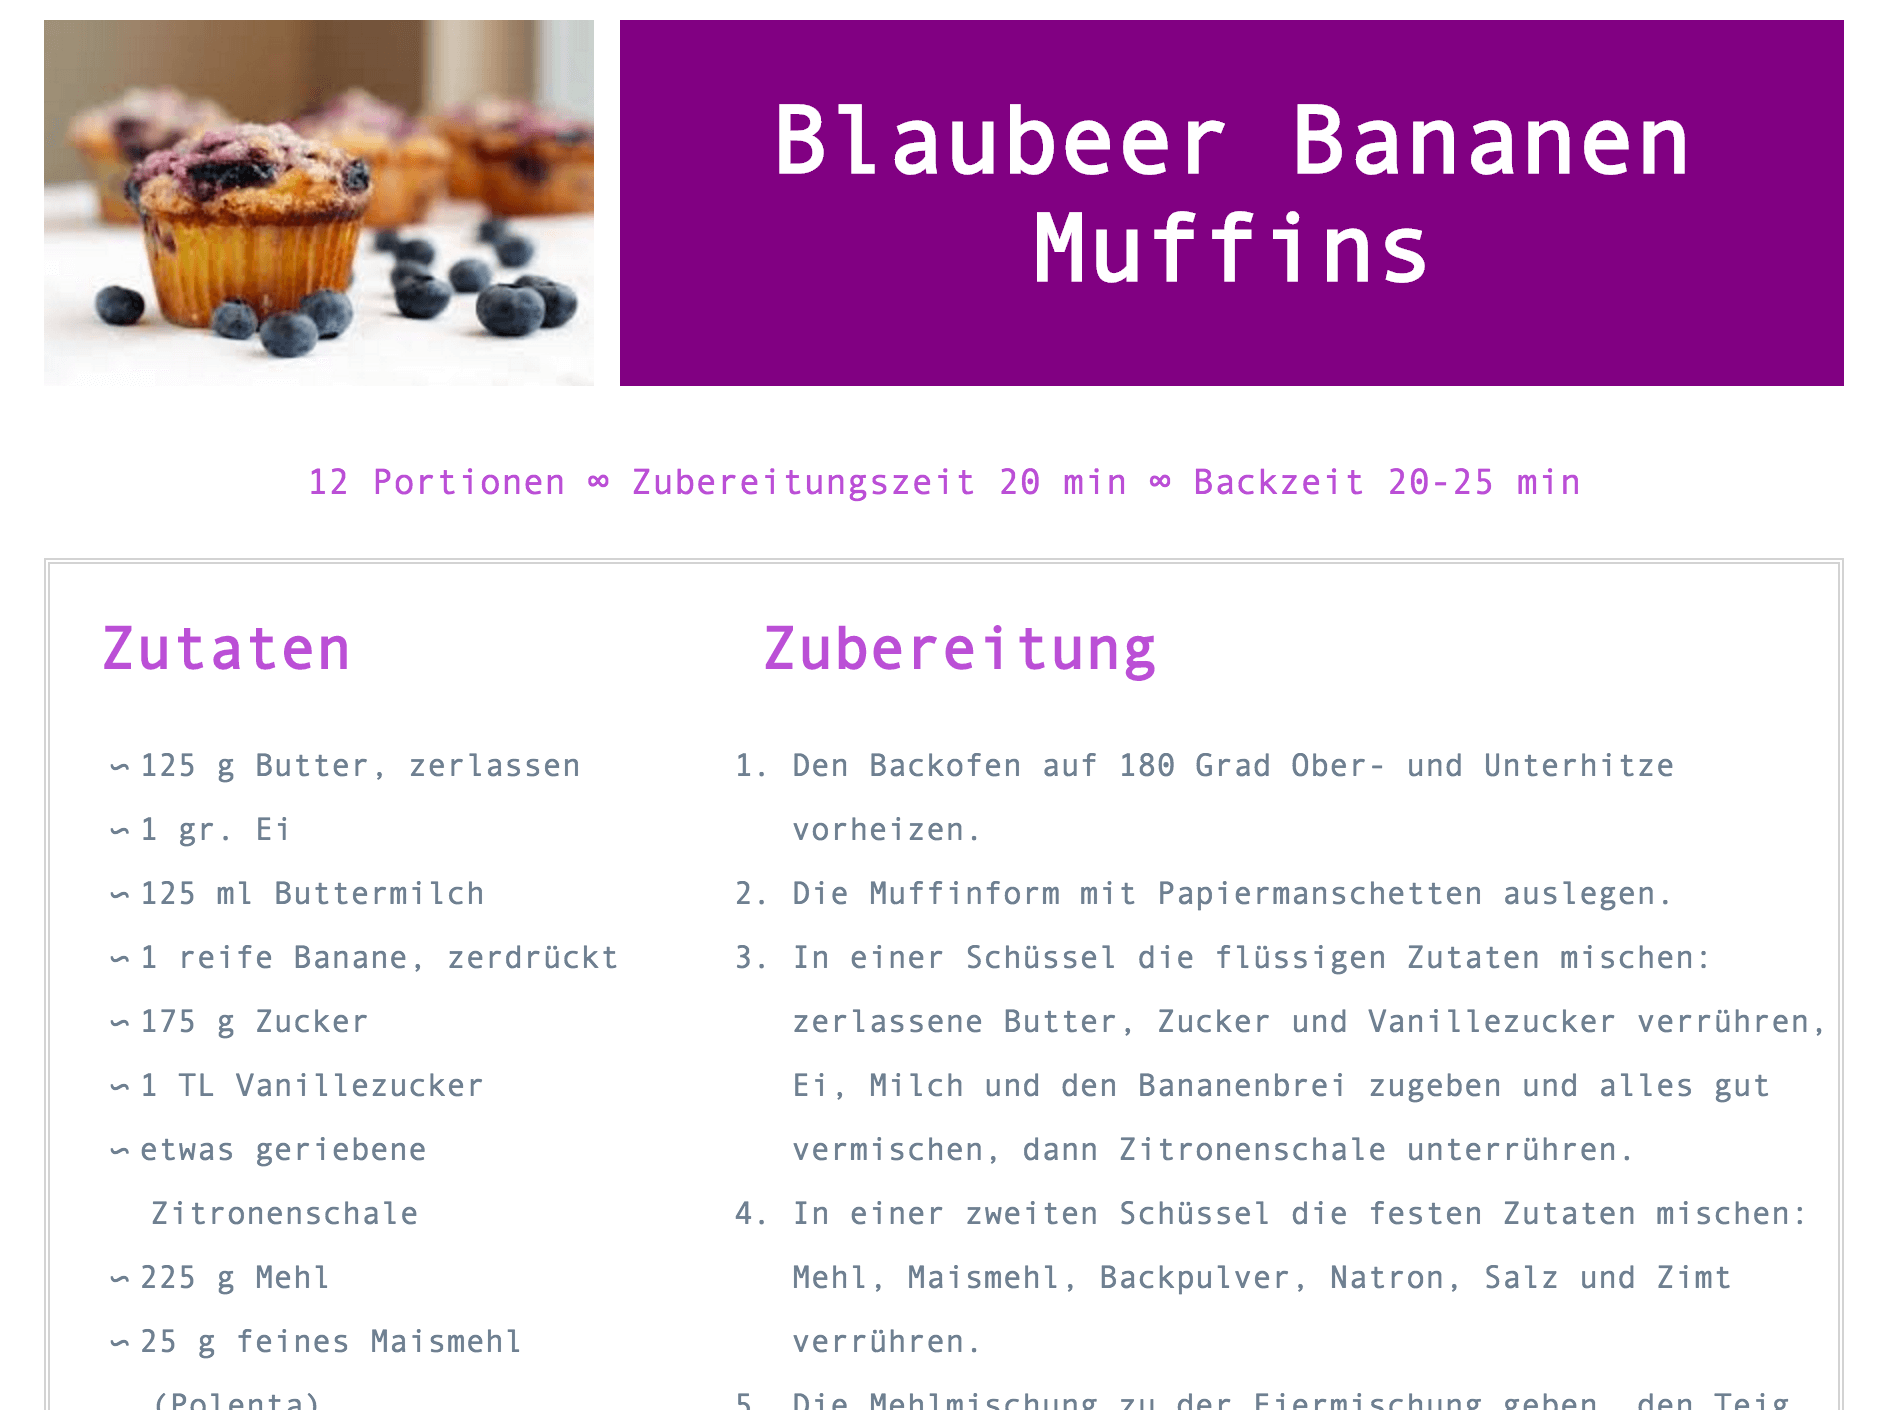
When teaching the basics of frontend development, I like to work on cooking recipes. A cooking recipe is usually a very simple and straight-forward document that can make sense on its own, even when undesigned. A cooking recipe is enough to learn about HTML without feeling overwhelmed, and more than enough to experiment with CSS for literally hours.
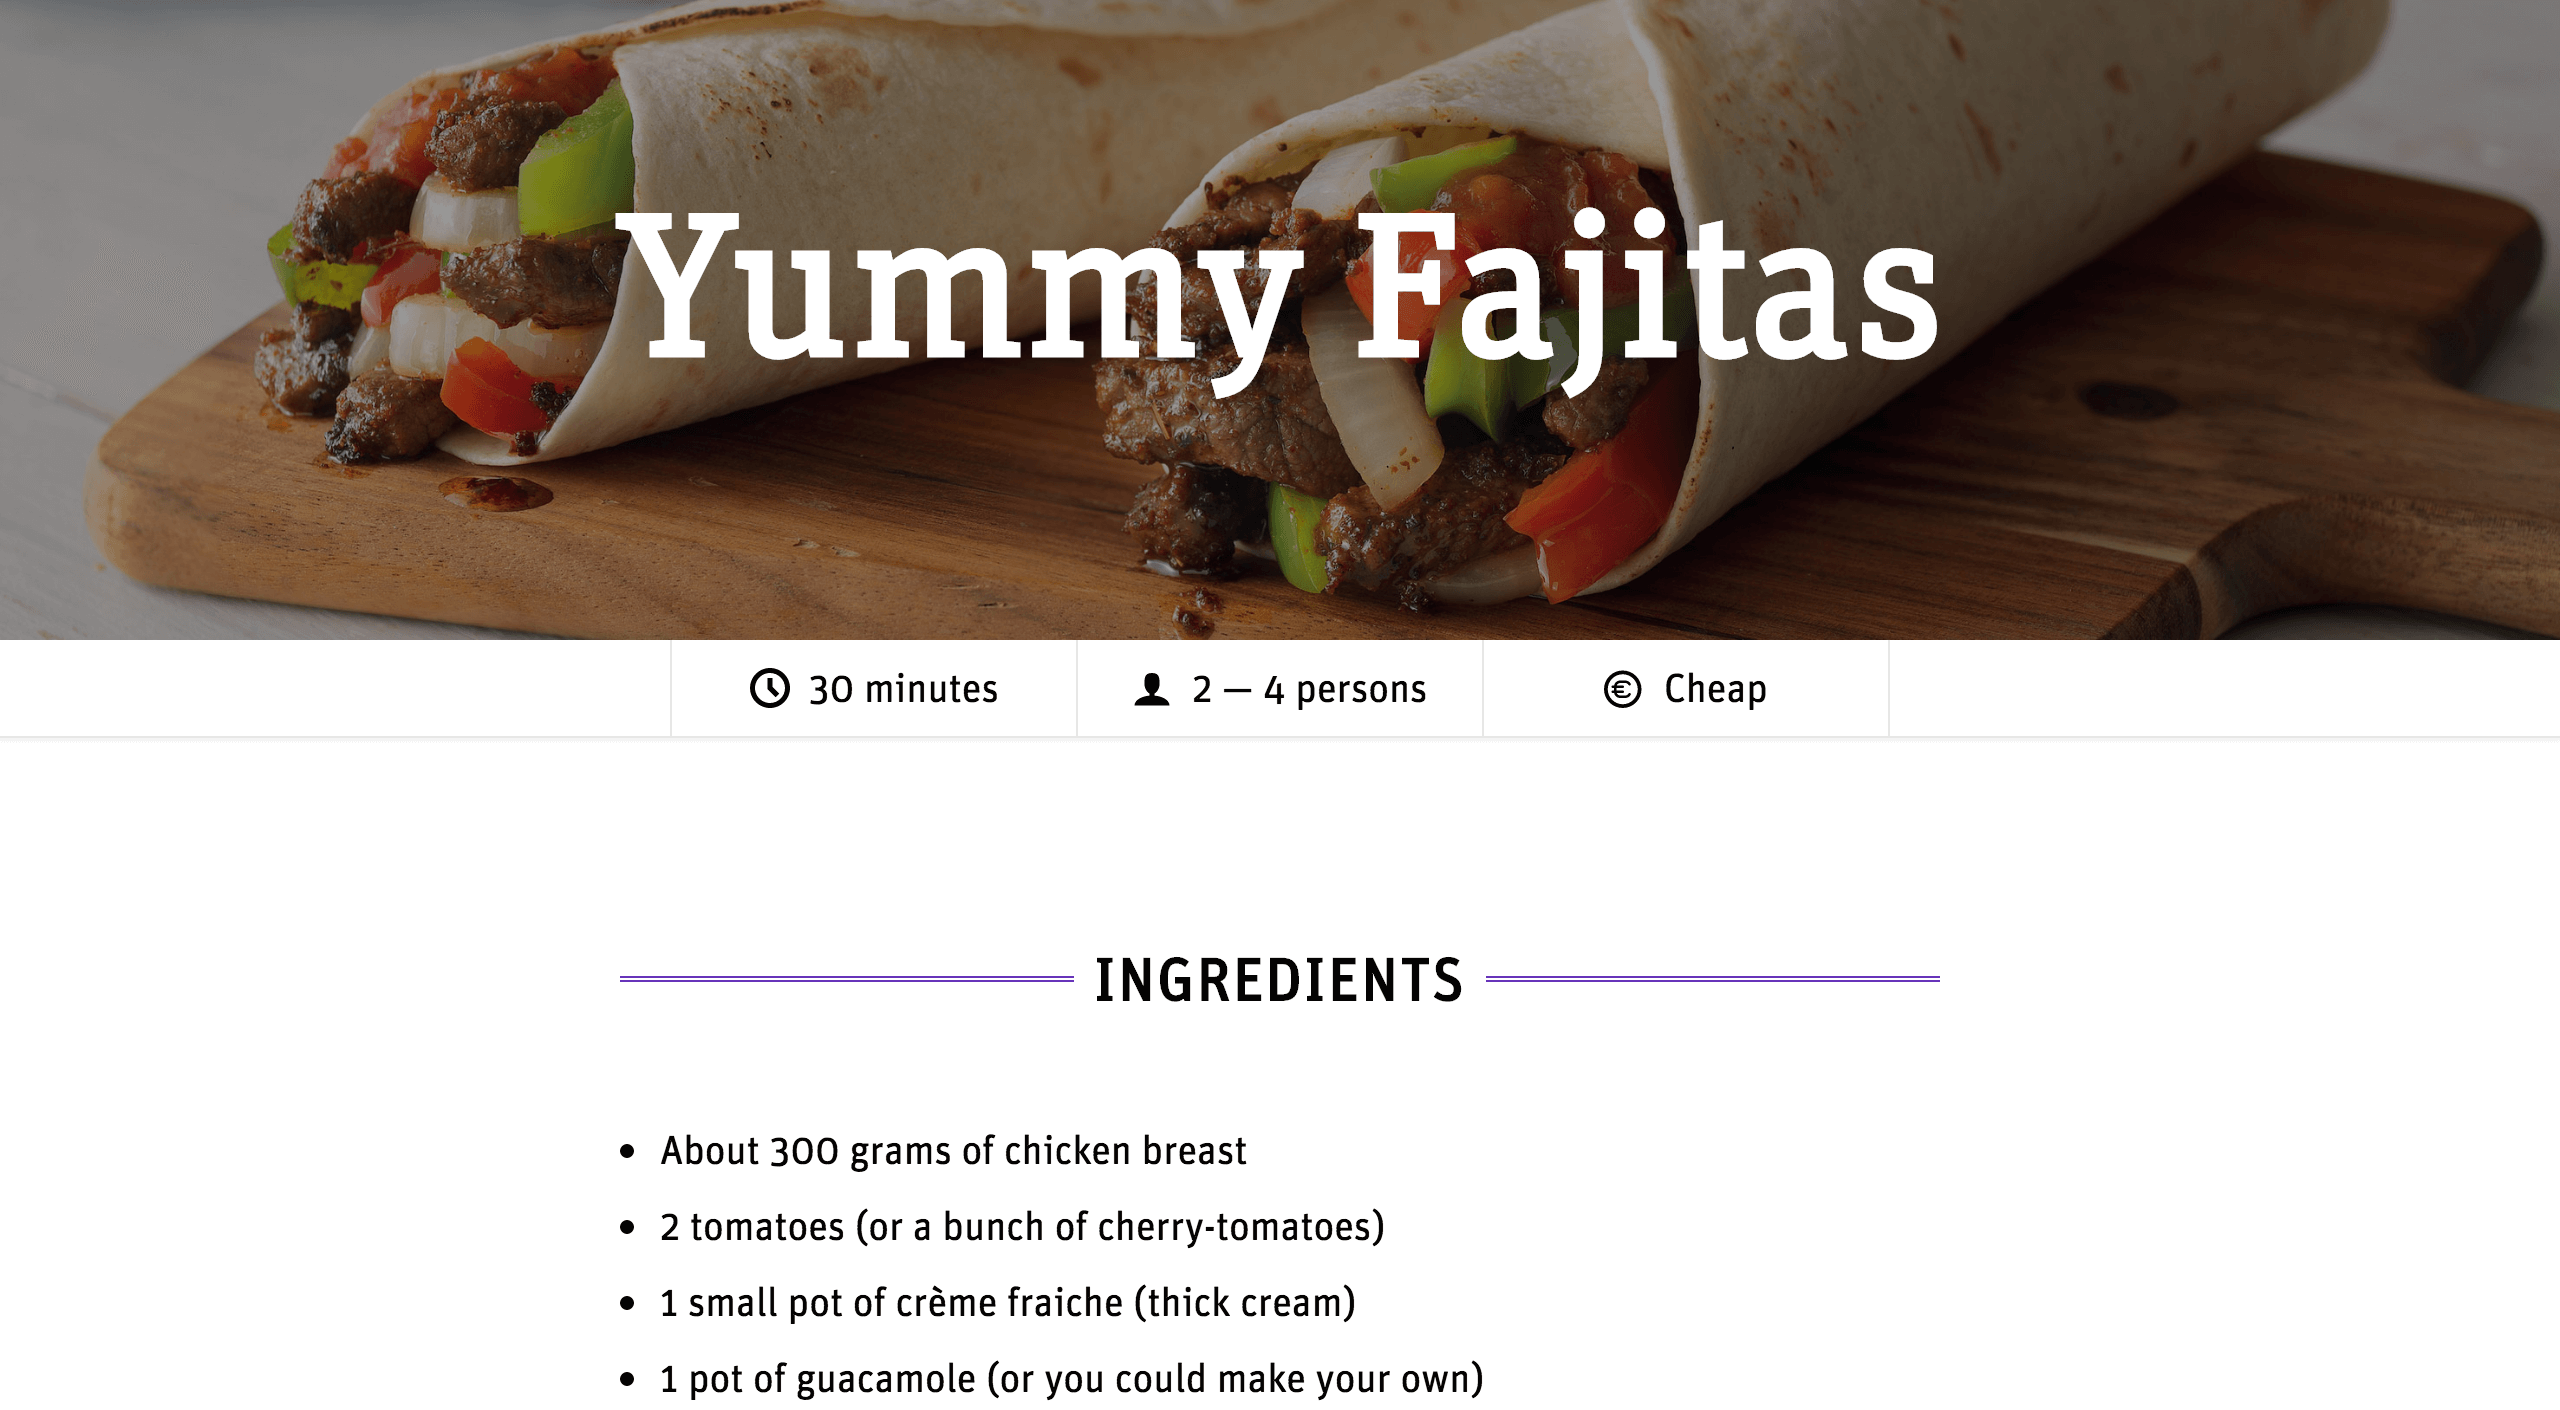
So before the workshop, I asked every participant to prepare a recipe as text format: a title, a few meta data such as the preparation time or the number of portions, a list of ingredients, a list of steps to reproduce and at least an image.
Over the course of these 2 days, every participant was working on their own recipe, with their own content, and their own design, then I gathered them all into a small website that we named “ESPI Cookbook”.
The scenario
I kicked off the workshop with a 15 minutes introduction on what the whole thing was about: how a website works in a few simple words, what is frontend development (and de facto what is backend as well), what are the 2 essential languages that compose it (no, none of them is JavaScript) and what we wanted to build in those 2 days.
After that, I asked the participants to create a folder for their project, containing only a single index.html file in which they had to paste their recipe content, as plain text. Time to start.
Learning HTML
At first, I thought I could start with the doctype, then the tag, then the and all it contains, then the tag, then the content, and so on. And then I realised it was already way too complex to start with. And unnecessary.
So I started by introducing what HTML is meant for and how to write it. Opening a tag, putting some content, closing a tag. Easy peasy. From there, they could put their title in a , their sub-titles in and their content in . Two interesting things there:
- Most of the participants turned out a bit confused about the headings hierarchy; some of them thought the first heading had to be
h1, the secondh2, the thirdh3and so on. Maybe I just went a bit too fast on what the number in the tags meant. - Almost at the same time, all participants were puzzled about how to mark up lists, which was a good sign to me:
did not seem correct to any of them.
The next hour (and a half or so) was about marking up all the content from the recipe. Still no mention of the tag, let alone anything outside of it. We kept moving forward with HTML while remaining heavily focused on our content. It took a bit of time to some participants to understand where to close tags, but eventually everyone got there.
At this stage, I invited them to open the file inside Chrome (because I knew Chrome was adding all the things we did not add manually) so they could see what was going in once in the browser.
We encountered the first encoding issues (since we did not add a charset meta) with German and Japanese characters. We solved it by adding the element, the element, and a element with the charset meta tag only.
<html lang="en">
<head>
<meta charset="utf-8" />
head>
<body>
Content…
body>
html>I took this as an opportunity to introduce HTML attributes, such as lang on the element. Retrospectively, I am not sure it was a good timing for that. Maybe it was unnecessary complexity at this stage.
This marked the end of the first half-day and the HTML part.
Learning CSS
I did not want to start right away with the tag and how to connect a stylesheet to the document, so I started the second half day with a practical example to introduce CSS.
h1 {
color: pink;
}
Simple enough, but for someone with no clue how CSS works, there are already quite a few things going on there: a selector, a rule, a property, a value, a declaration, a motherfucking semi-colon… After a few explanations on this snippet, we actually created a stylesheet and used the tag to connect it to the HTML document.
I’ll be honest and admit at this point I found myself a bit cornered. The thing is, there is usually only one good way to use HTML (especially on something that simple). But regarding CSS, and depending on what the result should be, there are dozens or hundreds of ways to write a stylesheet. And since they had free rein on the design, well… I had no idea how to move forward.
Luckily for me, they all started applying styles to their pages. First the main title, then the sub-titles, then the paragraphs, the lists, and so on. Since I did not want to introduce hundreds of CSS properties, I suggested they check the CSS cheatsheet from OverAPI.com. I accompagnied them one by one in what they wanted to. I was actually surprised at how fast they managed to get this and style their document.
It was not without a few mistakes though. Here are a few things I noticed:
- Because we worked exclusively in pixels, some participants used to author lengths without a unit.
- For participants with no design background at all, the hexadecimal notation for colors was not so straightforward, leading them to omit the hash symbol (
#). - Most if not all participants really struggled with semi-colons and syntax in general. Missing semi-colons, braces closed twice, typos and such. It generated a bit of frustration for some of them to not have more information about where they made a mistake.
Eventually, all participants managed to have their recipe styled pretty much how they wanted it. I even went further than expected with some of them, including these topics:
- Floats;
- CSS Columns;
- CSS Counters;
- Replaced bullets with pseudo-elements;
- Class composition;
- Inline SVG…
Things I noticed
Beginners do not really care about syntax consistency. Sometimes they will add a space before the opening brace, sometimes not. Sometimes they will put the opening brace on the same line as the selector, sometimes on its own line. Sometimes there are spaces before or after the color of a declaration, sometimes not. Sometimes there are blank lines between rules or even between declarations, sometimes not. It does not seem to matter.
I have to say I found this very curious as being consistent seems like it would make things much easier for them to read their own code and update it. Don’t get me wrong, I am not implying everybody should lint their code; just that being consistent with whatever rules one feels comfortable with makes things simpler.
Participants did not seem bothered having to repeat styles several times. Since I did not explicitly explained how the cascade works, some of them did copy their font-family declaration in all selectors without finding this particularly annoying. Same of colors, font-sizing and such. They all seemed to assume that it was perfectly normal having to repeat all this, and did not really consider a way to make it simpler.
All participants seemed happy with what they came up with in just a few hours, so there is that. On my side, I am super happy with the workshop. It was such a great teaching experience that I cannot wait to do it again. If you have any tip or comment, please be sure to share in the comment section. In the mean time, here are a few screenshots of the work done by some participants: Quite nice, for a just a few hours of playing with HTML and CSS, don’t you think? :)
Kitty Giraudel | Sciencx (2016-05-09T00:00:00+00:00) Giving a frontend workshop. Retrieved from https://www.scien.cx/2016/05/09/giving-a-frontend-workshop-2/ Please log in to upload a file. were harder to grasp than I thought they would. I introduced them as “semantically empty (inline / block) containers”, but that was not an easy concept to comprehend for every body. We eventually get there when we started naming elements with the class attribute, but the necessity of “dumb” containers was not as straight-forward as I thought it would be.
Final thoughts


This content originally appeared on Kitty Giraudel and was authored by Kitty Giraudel
![]()
There are no updates yet.
Click the Upload button above to add an update.