
This content originally appeared on SitePoint and was authored by Maria Antonietta Perna

Thinking about getting on the Jamstack bandwagon? If your answer is Yes, then Gatsby, one of the hottest platforms around, could be just what you’re looking for.
JAM stands for JavaScript, APIs, and Markup. In other words, while the dynamic parts of a site or app during the request/response cycle are taken care of by JavaScript in the client, all server-side processes take place using APIs accessed over HTTPS by JavaScript, and templated markup is prebuilt at deploy time, often using a static site generator. That’s the Jamstack. It’s performant, inexpensive to scale and offers better security and a smooth developer experience.
Why Use a Static Site
The static site model doesn’t fit all kinds of projects, but when it does it has a number of advantages. Here are a few of them.
Speed
The time it takes a website to load in the browser as the request is made for the first time is an important factor for user experience. Users get impatient very quickly, and things can only get worse on slow connections. A lack of database calls and the content being pre-generated make static sites really fast-loading.
A static site is made of static files which can be easily served all over the world using content delivery networks (CDNs). This makes it possible to leverage the data center that’s closer to where the request is being made.
Simplified Hosting
Hosting for static sites can be set up in a snap. Because there’s no database or server-side code, special languages or frameworks to support, all the hosting has to do is to serve static files.
Better Security
Without server-side code or a database, there isn’t anything for hackers to hack. There’s no hassle keeping the server up to date with security fixes and patches. All this means a lot more peace of mind when it comes to the security of your website.
Better Developer Experience
Setting up your static website with a hosting company like Netlify or Vercel is straightforward and, with continuous deployment, you just push your changes to your code repo of choice and they’re immediately reflected in the live version.
What Is Gatsby?
Gatsby is one of the most popular tools for building websites today. It’s more than a static site generator. In fact, it is a “React-based, open-source framework for creating websites and apps.” As Gatsby is built on top of React, all the React goodness is at your fingertips, which enables you to take advantage of this powerful library to build interactive components right into your static website. Gatsby is also built with GraphQL, so you can query data and display it on your website any way you want.
Installing Gatsby and Creating Your Project
Gatsby is put together using webpack, but you don’t need to worry about complicated set-up maneuvers; Gatsby CLI will take care of everything for you.
For this tutorial, I’ll assume you have Node.js installed locally. If this isn’t the case, then head over to the Node home page and download the correct binaries for your system. Alternatively, you might consider using a version manager to install Node. We have a tutorial on using a version anager here.
Node comes bundled with npm, the Node package manager, which we’re going to use to install some of the libraries we’ll be using. You can learn more about using npm here.
You can check that both are installed correctly by issuing the following commands from the command line:
node -v
> 12.18.4

npm -v
> 6.14.8
The first thing you need to do is install the Gatsby CLI. This is an npm package that lets you create a Gatsby site in a few seconds. In your terminal, write:
npm install -g gatsby-cli
With the Gasby CLI installed on your machine, you can go ahead and create your website. I’ll call it sitepoint-demo, but you’re free to call it whatever you like. In your terminal, type:
gatsby new sitepoint-demo
Once Gatsby CLI has installed all the necessary files and configured them appropriately, you’ll have a fully functioning Gatsby website ready for you to customize and build upon. To access it, move into the sitepoint-demo folder:
cd sitepoint-demo
and start the local server:
gatsby develop
Finally, open a window on http://localhost:8000 where you’ll find your shiny Gatsby site looking something like this:
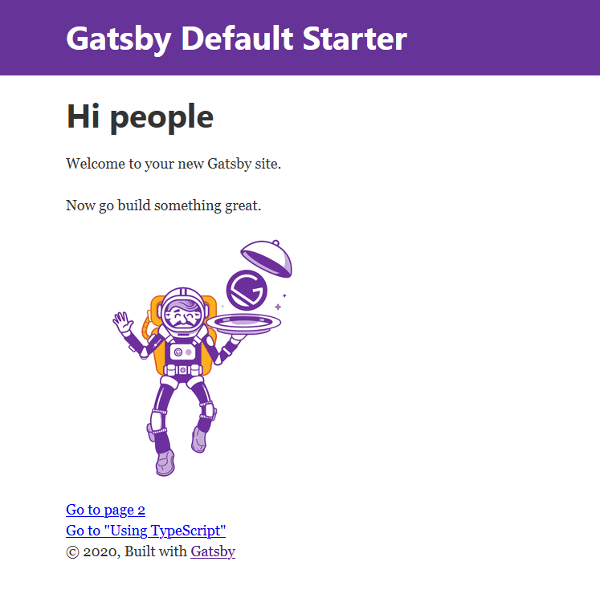
To quickly get a website up and running, Gatsby takes advantage of several official starter boilerplates as well as starters offered by the strong community around it. The site you’ve just created uses Gatsby default starter, but you can find plenty more on the Gatsby website.
If you’d like to use a different starter from the default one, you need to specify its URL in the command line, following this pattern:
gatsby new [SITE_DIRECTORY_NAME] [URL_OF_STARTER_GITHUB_REPO]
For instance, let’s say you’d like a Material Design look and feel for your site. The quickest way to create it is to use Gatsby Material Starter by typing the following command in your terminal:
gatsby new sitepoint-demo https://github.com/Vagr9K/gatsby-material-starter
Great! Now let’s take a look at the files inside your brand new Gatsby project.
A Tour Inside Your Gatsby Site
A good place to start is the /src/ directory. Here’s what you’ll find.
pages Directory
The /src/pages/ directory contains your site’s pages. Each page is a React component. For instance, your site’s home-page code is located in /pages/index.js and looks like this:
import React from "react"
import { Link } from "gatsby"
import Layout from "../components/layout"
import Image from "../components/image"
import SEO from "../components/seo"

const IndexPage = () => (
<Layout>
  <SEO title="Home" />
  <h1>Hi people</h1>
  <p>Welcome to your new Gatsby site.</p>
  <p>Now go build something great.</p>
  <div style={{ maxWidth: `300px`, marginBottom: `1.45rem` }}>
    <Image />
  </div>
  <Link to="/page-2/">Go to page 2</Link>
  <Link to="/using-typescript/">Go to "Using TypeScript"</Link>
</Layout>
)

export default IndexPage
That’s the typical code for a React component.
Components let you split the UI into independent, reusable pieces, and think about each piece in isolation. … Conceptually, components are like JavaScript functions. They accept arbitrary inputs (called “props”) and return React elements describing what should appear on the screen. — React docs.
components Directory
The /src/components/ directory is where you find general components for your website. The default starter comes with the following components: Header (header.js), Image (image.js), Layout (layout.js), and SEO (seo.js). You’re free to customize these components and add your own to the same directory.
Now you’re ready to start making changes to your new site and customize it to your taste.
How to Make Changes to Your Gatsby Site
Let’s have a go at modifying the message displayed on the home page. Open pages/index.js in your code editor and replace the two paragraphs below the <h1> tag with this paragraph:
<p>Welcome to my SitePoint Demo Site!</p>
Of course, you can add any text you want ibetween the <p> tags.
As soon as you hit Save, your changes are displayed in the browser thanks to Gatsby’s hot reloading development environment. This means that when you develop a Gatsby site, pages are being watched in the background so that when you save your work, changes will be immediately visible without needing a page refresh or a browser restart.
Gatsby makes it easy to add new pages. For instance, let’s add an About page by creating a new file, about.js, inside the /pages/ directory and enter this content:
import React from "react"

const AboutPage = () => <h1>About Me</h1>

export default AboutPage
The code above is a React functional component which displays some text.
Save your work and navigate to http://localhost:8000/about and you should see the About Me <h1> title on your screen.
You can quickly link to your new About page from the home page using the Gatsby Link component. To see how it works, open index.js in your code editor and locate this bit of code just before the </Layout> closing tag:
<Link to="/page-2/">Go to page 2</Link>
Next, replace the value of the to property with /about/ and the Go to page 2 text with About:
<Link to="/about/">About</Link>
Save your work and you should see your new link on the screen. Click on the About link and instantly you’re on the About page.
Gatsby uses the Link component for internal links. For external links, you should use the good old <a> tag, like you would on a regular vanilla HTML website.
Now, let’s experiment with your Gatsby site’s look and feel by changing a few styles.
Styling Your Gatsby Site
Gatsby offers a number of options for applying style rules to your website.
Global Stylesheet
A familiar choice is to use a global .css file which contains rules that apply to the entire website. To get started, add a /styles/ directory inside the /src/ directory and add a global.css file to it: /src/styles/global.css . You’re free to choose any name you like both for the directory and the style-sheet file. Inside global.css, add the following CSS declaration, which is going to be applied to the entire website:
body {
  background-color: yellow;
}
Now, save your work. Oops, nothing happened! Not yet, anyway. To make it work you need to take an extra step. Open gatsby-browser.js in your code editor and import the stylesheet you’ve just created:
import "./src/styles/global.css"
Head back to your browser and you should see that the background color of your website has turned into a bright yellow. Not ideal as a color choice, but it works!
Continue reading Getting Started with Gatsby: Build Your First Static Site on SitePoint.
This content originally appeared on SitePoint and was authored by Maria Antonietta Perna
Maria Antonietta Perna | Sciencx (2020-09-29T19:00:56+00:00) Getting Started with Gatsby: Build Your First Static Site. Retrieved from https://www.scien.cx/2020/09/29/getting-started-with-gatsby-build-your-first-static-site/
Please log in to upload a file.
There are no updates yet.
Click the Upload button above to add an update.