
This content originally appeared on Bits and Pieces - Medium and was authored by Nishu_Dissanayake
Bundling Non-JavaScript Assets and Resources: Why and How
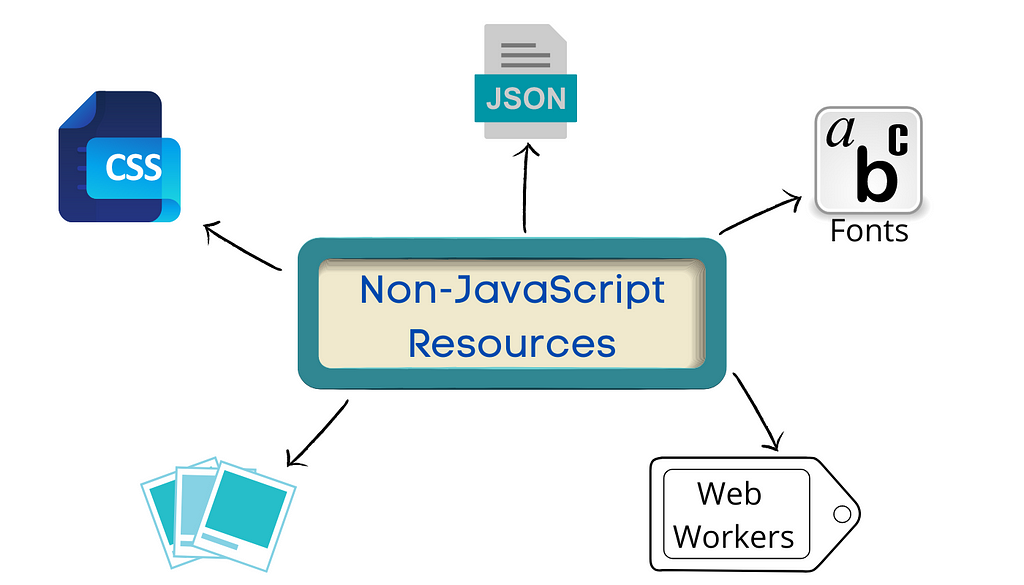
In modern web development, bundling assets is essential to improve application performance in multiple ways. And, the developers mainly focus on JavaScript bundling rather than the non-JavaScript assets like images, icons, and fonts.
However, non-JavaScript assets are equally important to reduce application loading time. In this article, I will discuss the different ways we can use to bundle non-JavaScript resources.
Importance of Bundling Non-JavaScript Resources
The idea behind bundling is straightforward. If we keep the resources individually, we need an equal number of HTTP requests to load them. It has a significant impact on application performance as your application demands more and more resources over time.
Bundling helps to group these assets so that the application can load them in bulk. In addition, it will also analyze the resource usage and remove unnecessary or unused resources.
The good news is that we can use bundling tools like Webpack and esbuild for non-JavaScript resources as well.
However, the steps and the method can change considering the types of assets or components we are trying to bundle. So, let’s see how we can bundle different types of non-JavaScript resources with Webpack.
1. CSS Bundling
There are multiple tools we can use to bundle CSS. Let’s look at the ones that perform JavaScript modification to use a single bundler for both types of assets.
Using Webpack
Webpack provides a feature called “loaders” to enable CSS bundling. They allow pre-processing files as we import or “load” them.
First, we need to install css-loader and style-loader using NPM.
npm install --save-dev css-loader style-loader
After installation, we need to modify the webpack.config.js file by including these two loaders under rule sets in the module object.
We have to import the CSS file inside JavaScript to mark its usage. For example, suppose we import a CSS filename style.css into index.js:
import "./styles.css"
Within the webpack.config.js file and rules array, we can create a new entry for CSS bundling as a child property of the module object.
module: {
    rules: [
      {
        test: /\.css$/i,
        use: ["style-loader", "css-loader"],
      },
    ],
  },
Then, Webpack will bundle all the imported CSS files along with JavaScript.
Using esbuild
Another method to bundle CSS is using esbuild. It is a fast and reliable tool when it comes to bundling and modification.
For example, if we have two CSS files as style.css and home.css, we can bundle them into a single output file using esbuild.
First, we need to import home.css to style.css like below:
@import 'home.css';
Then, we can use the esbuild command to bundle them as a single output file. The output file will contain all the styles from both the CSS files.
esbuild style.css — outfile=out.css — bundle
2. Image Bundling
Using Image Sprites
An image sprite is a single image file that includes a collection of images positioned at specific locations. Therefore it allows us to load all of these images at once.
The following is an example of defining the location of the source images within the sprite.
#prev{left:50px;width:30px;}
#prev{background:url('img_newsprite.gif') -23px 0;}
#next{left:130px;width:25px;}
#next{background:url('img_myspriteimg.gif') -70px 0;}
Using Webpack
Similar to CSS, we can use Webpack for image bundling. First, we need to install two loaders as we did with CSS bundling. Here the loaders we use are the file loader and the HTML loader.
npm install file-loader@1.1.6 --save-dev
npm install html-loader@0.5.5 --save-dev
HTML loader helps export the HTML as a string. In image bundling, it references the images relative to the markdown file itself. Finally, the file loader helps resolve the import and require() into a URL and then emits the file into the output folder.
After installation, we must modify the webpack.config.js file by including these two loaders under rule sets in the module object.
{
  test: /\.(gif|png|jpe?g)$/,
  use: [
    {
      loader: 'file-loader',
      options: {
        name: '[name].[ext]',
        outputPath: 'assets/image/'
      }
    }
  ]
},

{
  test:/\.html$/,
  use: [
    'html-loader'
  ]
},
Now, we can add images to the assets/image folder and use them in our application.
3. Bundling Fonts
Fonts and font styles have a direct impact on application loading time. Therefore, we can easily bundle the fonts using Webpack. The first step is to put all the fonts into a single directory. Generally, we can place them inside the assets/fonts folder.
Then we need to install the URL loader. It helps to import arbitrary files and transforms them into base64 URIs.
npm install url-loader --save-dev
After that, we need to modify the webpack.config.js file as follows:
{
   test: /\.(woff|woff2)$/,
   use: {
      loader: 'url-loader',
   },
},
Finally, we can easily use these bundled fonts in our CSS files using the @font-face property.
@font-face {
    font-family: 'NewFont';
    src: url('./new-font.woff2') format('woff2'),
    url('./new-font.woff') format('woff');
    font-weight: 700;
    font-style: normal;
}
.header {
    font-family: 'NewFont';
 }
Note: woff and woff2 are file formats for fonts that are compatible with modern browsers. We can include other image types as well.
4. Icons and SVGs
We can use Webpack to bundle icons and SVGs, and the steps are pretty similar to font bundling. Here also, we use the URL loader.
All we need to do is update the rules array of the webpack.config.js file to include icon file types in the bundle. Then the output file will contain the icons we have in the asset/resources directory.
{
   test: /\.(svg|ico)$/i,
   type: 'asset/resources',
}
5. Bundling JSON Files
Webpack provides support for bundling JSON files as well. In addition, it provides a set of custom parsers to support bundling JSON, toml, and YAML files.
First, we need to install the parsers.
// For JSON
npm install json5 --save-dev
// For YMAL
npm install yamljs --save-dev
// For toml
npm install toml --save-dev
After that, we need to edit the webpack.config.js file as follow:
const toml = require('toml');
const yaml = require('yamljs');
const json5 = require('json5');
...
{
   test: /\.toml$/i,
   type: 'json',
   parser: {
      parse: toml.parse,
   },
},
{
   test: /\.yaml$/i,
   type: 'json',
   parser: {
      parse: yaml.parse,
   },
},
{
   test: /\.json5$/i,
   type: 'json',
   parser: {
      parse: json5.parse,
   },
},
Conclusion
This article discussed the importance of bundling non-JavaScript resources with examples of bundling CSS, images, icons, fonts, and JSON files.
Regardless of project size, following these techniques will surely improve the performance of your projects. So, I invite you to try them and share your thoughts in the comments sections.
Thank you for reading !!!
Build better Component Libs and Design Systems
Share components across teams and projects to speed up development and make sure your users experience a consistent design at every touchpoint.
Bit offers a great dev experience for building, sharing, and adopting components across teams and applications. Create a component hub for free give it a try →
Learn More
- 5 Methods to Reduce JavaScript Bundle Size
- 6 Tools and Techniques to Analyze Webpack Bundle Size
- 5 Techniques for Bundle Splitting and Lazy Loading in React
How to Bundle Non-JavaScript Resources was originally published in Bits and Pieces on Medium, where people are continuing the conversation by highlighting and responding to this story.
This content originally appeared on Bits and Pieces - Medium and was authored by Nishu_Dissanayake
Nishu_Dissanayake | Sciencx (2021-11-30T21:54:41+00:00) How to Bundle Non-JavaScript Resources. Retrieved from https://www.scien.cx/2021/11/30/how-to-bundle-non-javascript-resources/
Please log in to upload a file.
There are no updates yet.
Click the Upload button above to add an update.