
This content originally appeared on DEV Community and was authored by Ogundele Faruk
Step-by-Step Guide: Creating & Connecting to an Azure Virtual Machine 🖥️
1.Log in to Azure Portal
📍 Navigate to portal.azure.com.
🔹 Enter your username & password to access the dashboard.
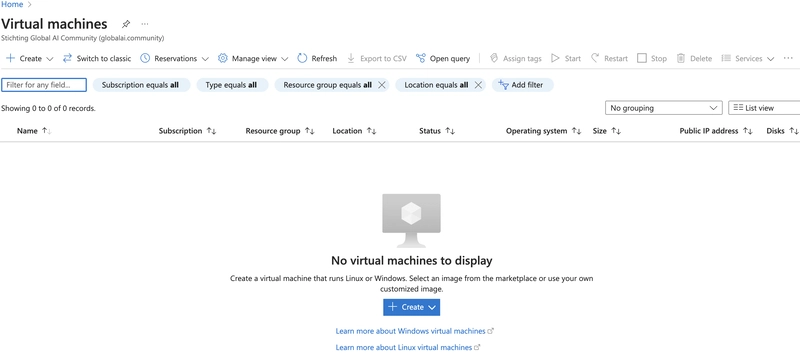
2.Search for "Virtual Machines"
📍 In the Search bar, type "Virtual Machines".
🔹 You can also find it by clicking the hamburger menu or selecting "Create a Resource" → "Virtual Machine".
3.Click on "Create"
🔹 Click "Create" → "Azure Virtual Machine".
🔹 Choose "Virtual Machine hosted by Azure".
4.Enter Project Details
🔹 Select the appropriate Subscription.
🔹 Click "Create Resource Group" → Enter a name for it.

5.Configure Virtual Machine Details
🔹 Enter:
✅ VM Name (e.g., MyAzureVM,AzureingVM)
✅ Operating System: Select Ubuntu Server 20.04 or Windows Server Datacenter - x64 G2
✅ VM Size: Keep the default option.

6.Set Up Administrator Account
🔹 Authentication Type: Select Password.
🔹 Username: Azureuser
🔹 Password: password123* (Change for security purposes).
7.Configure Inbound Port Rules
🔹 Select SSH (for Linux) or RDP (for Windows).
- Accept Licensing Terms
🔹 Click the checkbox to accept the license agreement.
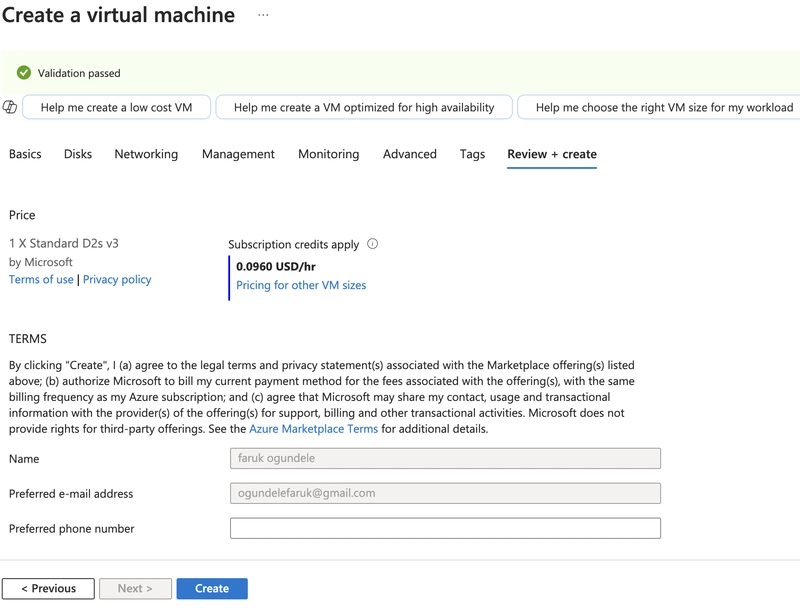 9.Check VM Status
🔹 If the status is "Running", your VM is ready! 🎉
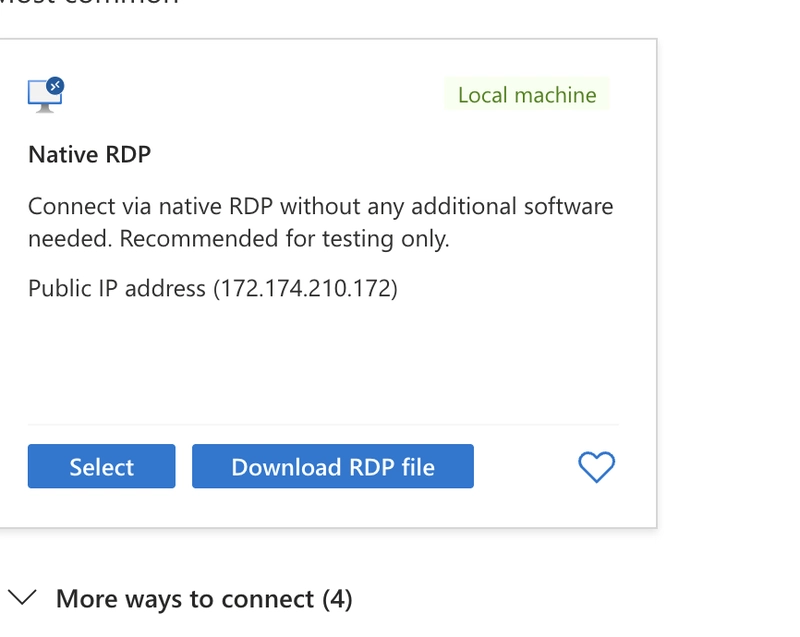
10.Connect to the Virtual Machine
🔹 Click "Connect" in the Azure VM blade.
11.Download & Open RDP File (Windows VM Only)
🔹 Click "Native RDP" → Download RDP file.
🔹 Open the RDP file on your computer.
Download & Open RDP File (Windows VM Only)
Download & Open RDP File (Windows VM Only)
9.Check VM Status
🔹 If the status is "Running", your VM is ready! 🎉
10.Connect to the Virtual Machine
🔹 Click "Connect" in the Azure VM blade.
11.Download & Open RDP File (Windows VM Only)
🔹 Click "Native RDP" → Download RDP file.
🔹 Open the RDP file on your computer.
Download & Open RDP File (Windows VM Only)
Download & Open RDP File (Windows VM Only)
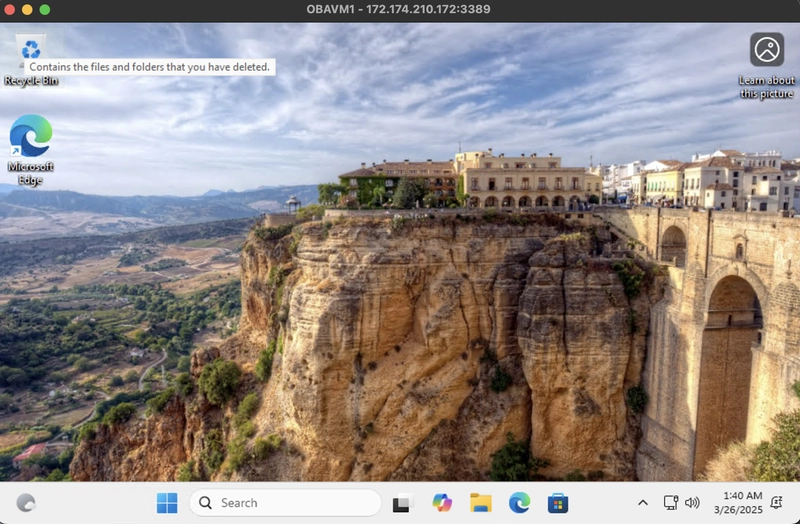
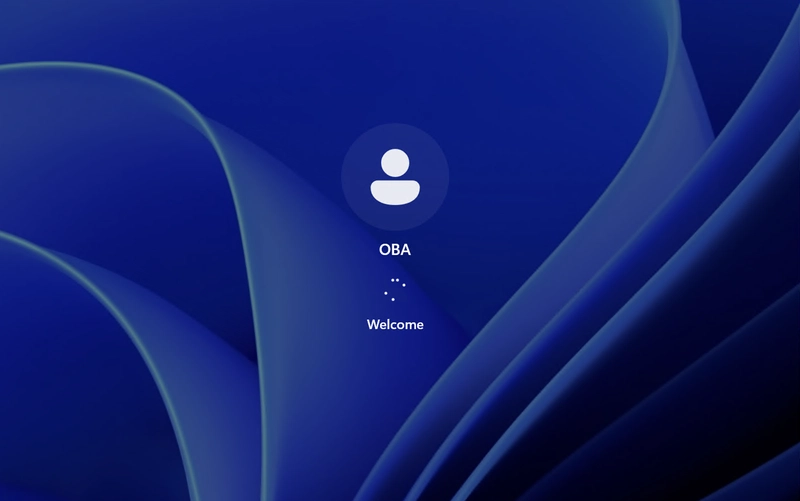 12.Success! Start Using Your VM
This content originally appeared on DEV Community and was authored by Ogundele Faruk
Ogundele Faruk | Sciencx (2025-03-26T01:45:41+00:00) Create A Virtual Machine StepByStep. Retrieved from https://www.scien.cx/2025/03/26/create-a-virtual-machine-stepbystep/
Please log in to upload a file.
There are no updates yet.
Click the Upload button above to add an update.